Rock Shox Monarch Plus RC3 IFP pressure issues

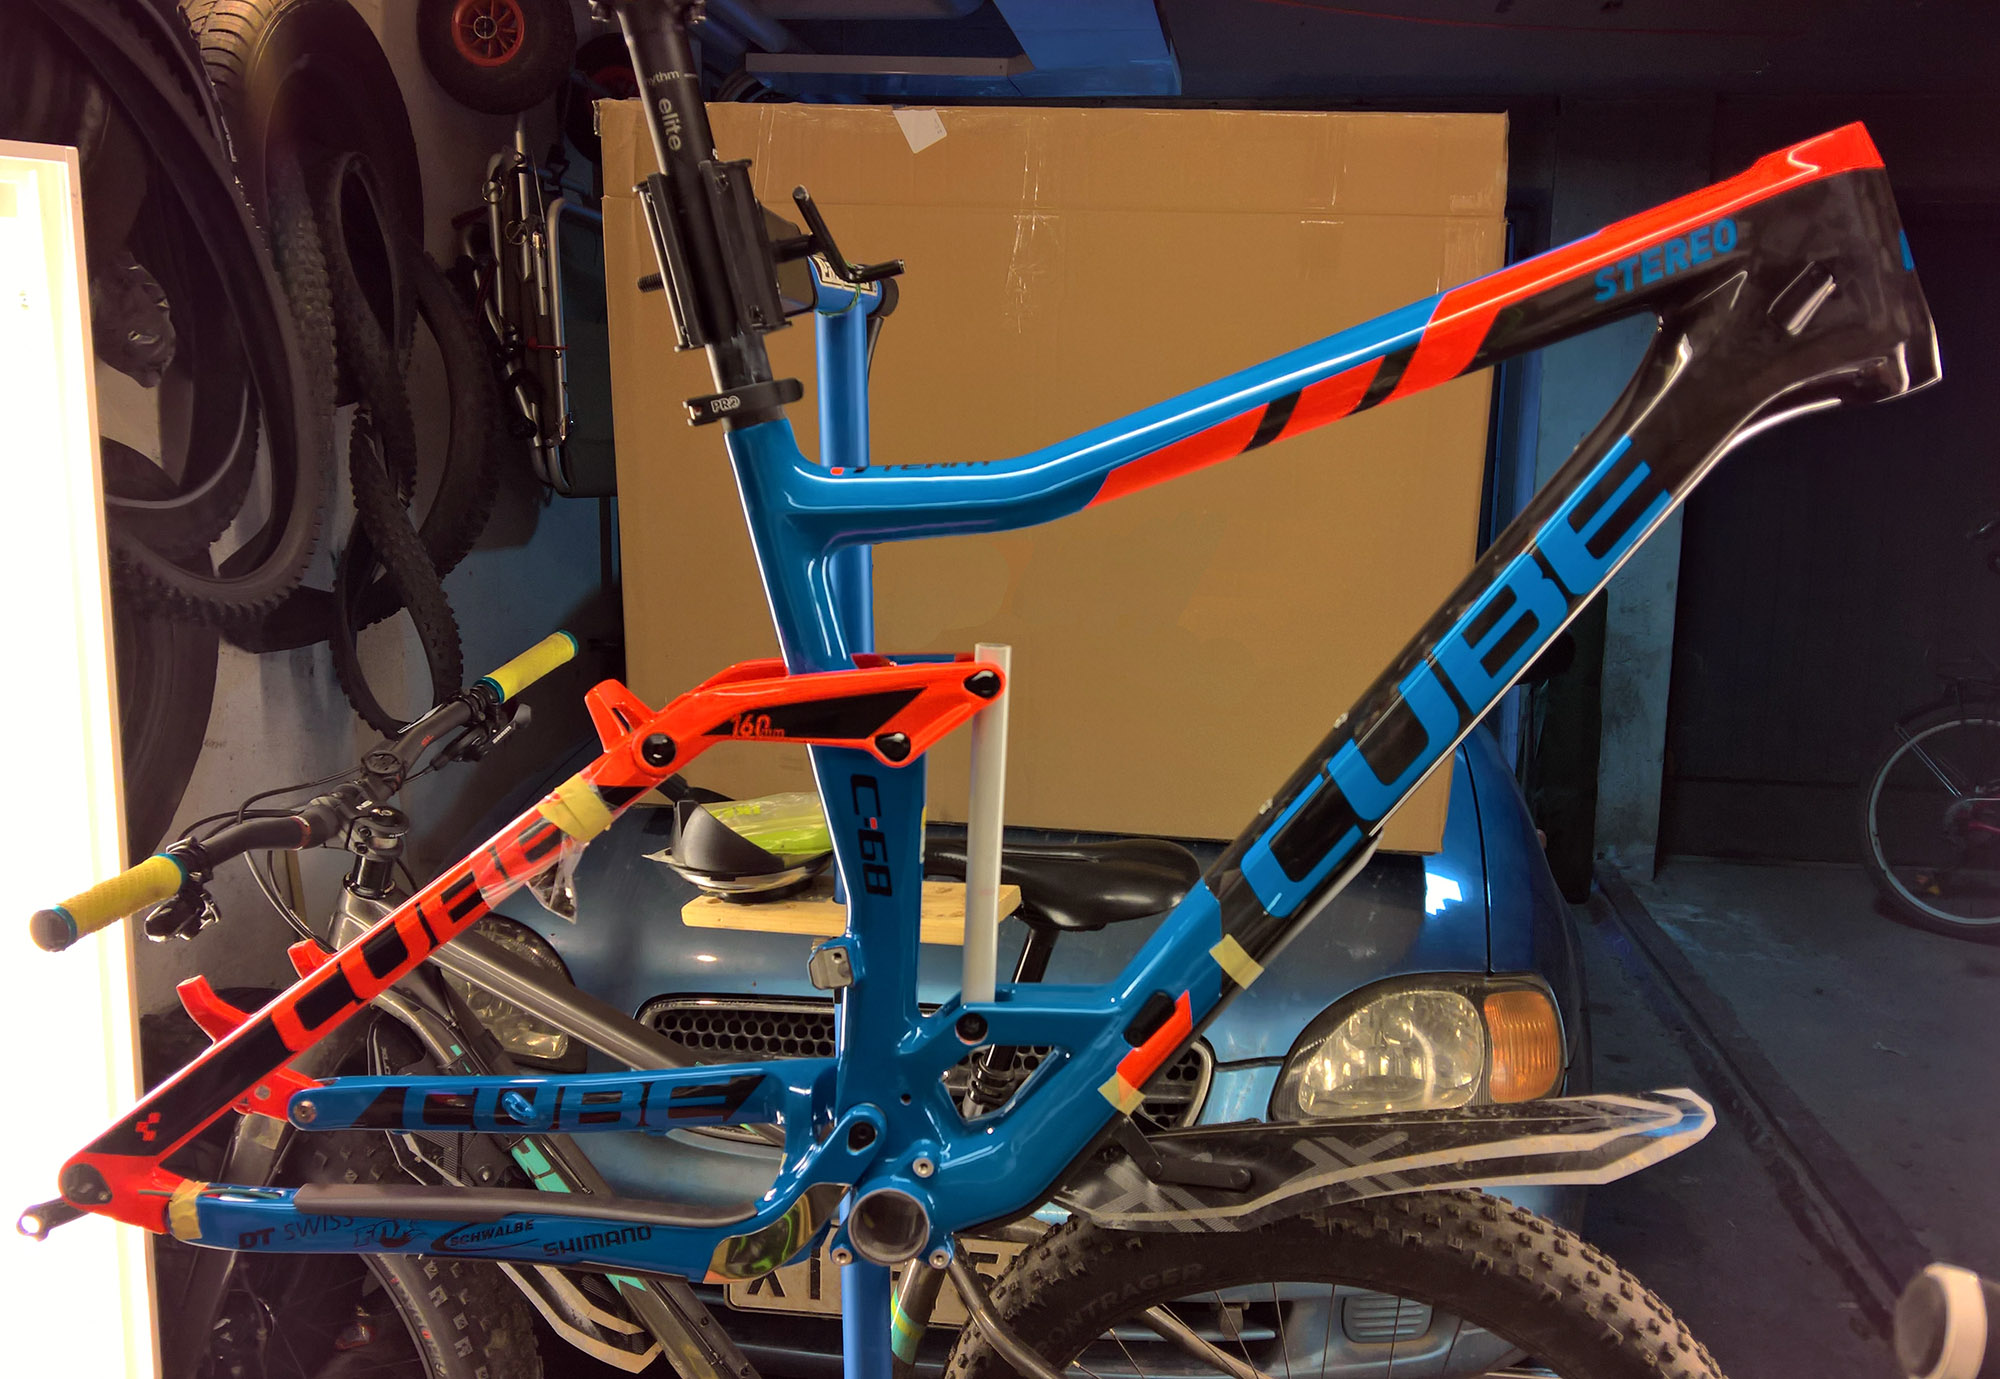
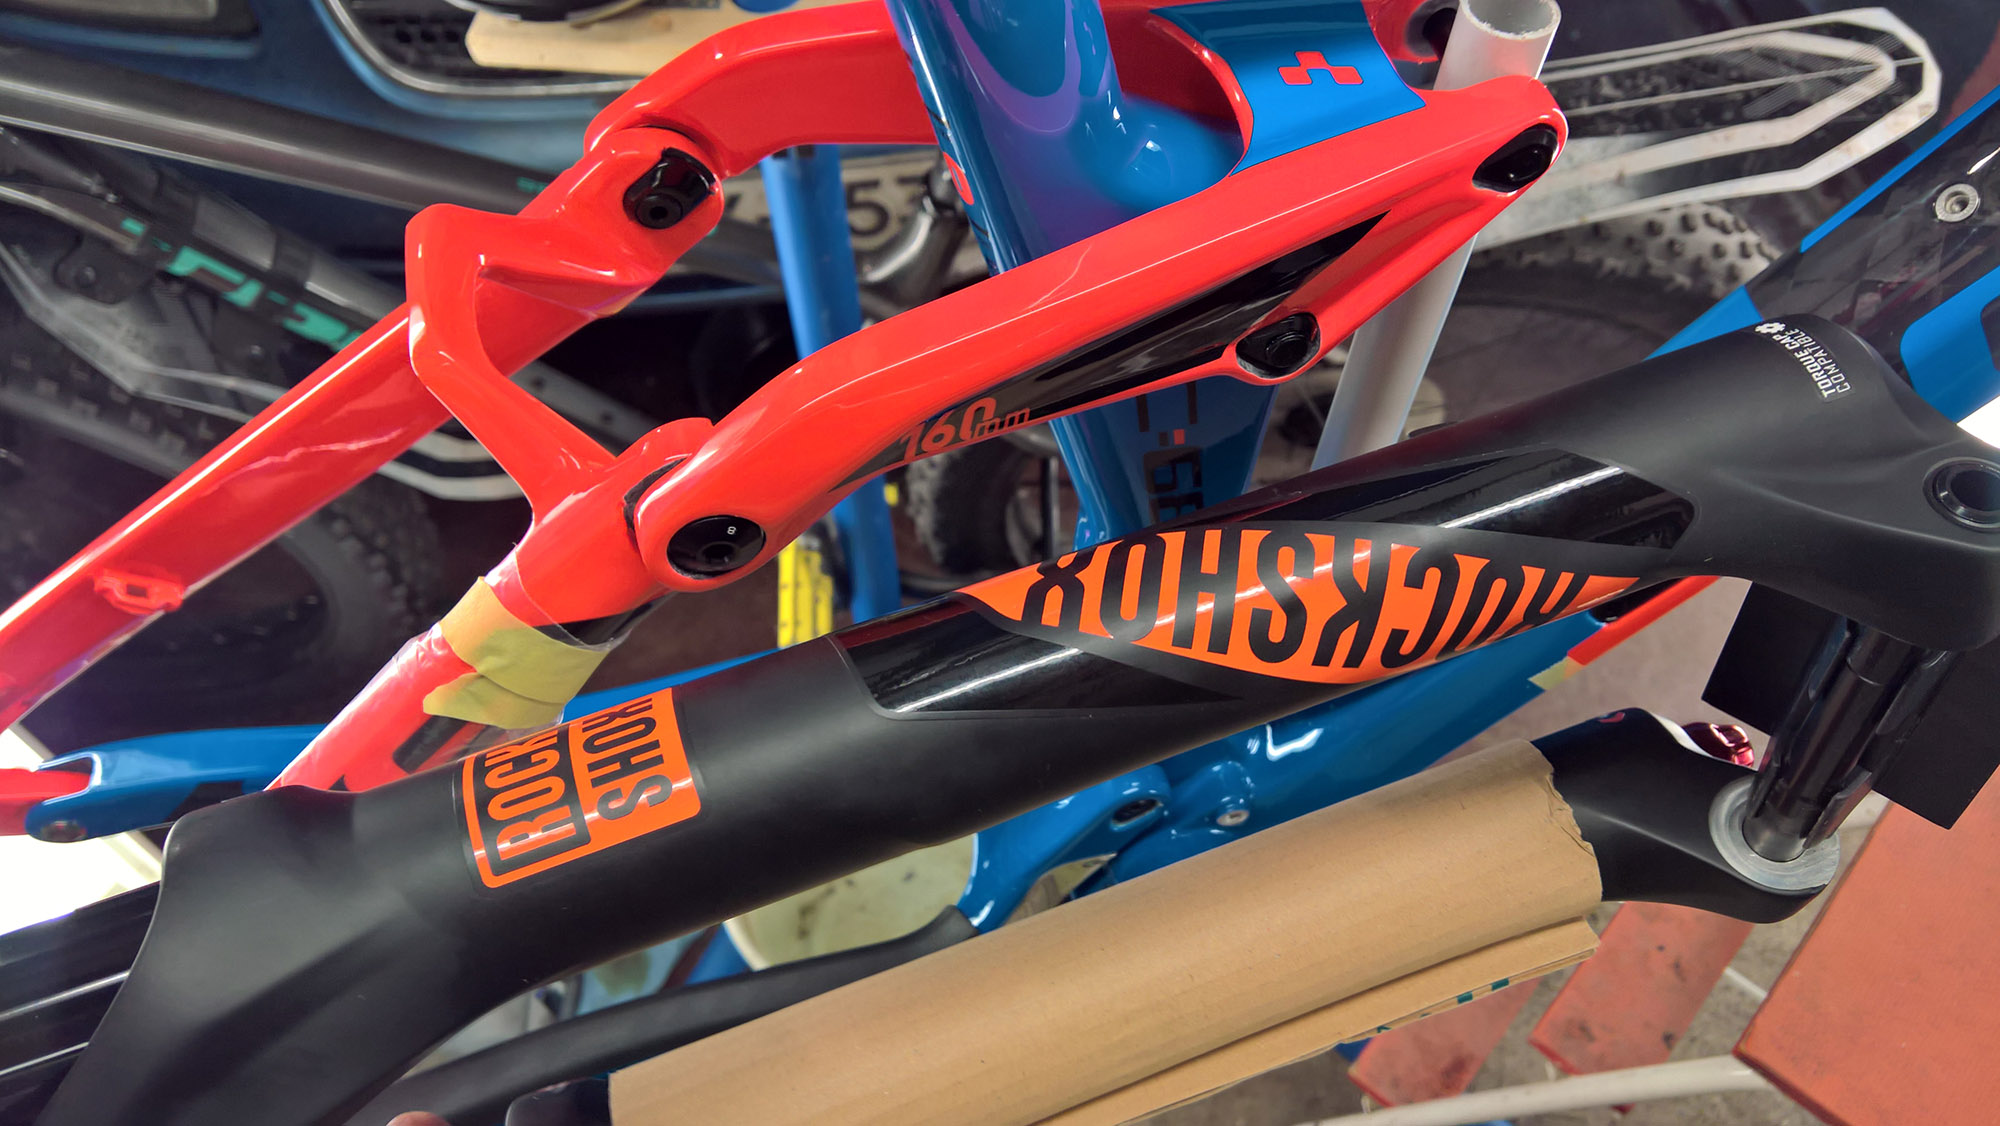
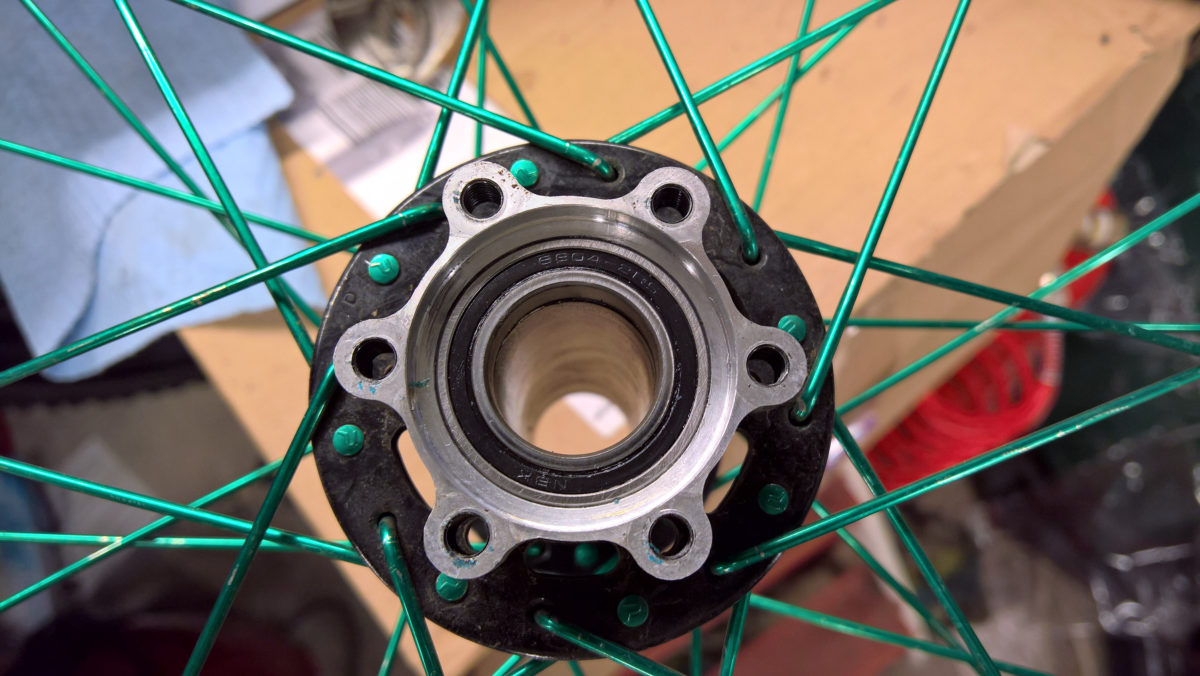
There appears to be something wrong with multiple Monarch Plus rear shocks. I had one that developed very stiff platform on 20-30% travel and besides the increase in damping force, also made a *klunk* sound. It appeared to be happening only when compression was set to open, trail and climb modes were unaffected.

I first thought that I had bad luck with the damper, but I now know at least 4 instances of this issue in my friends.

Story

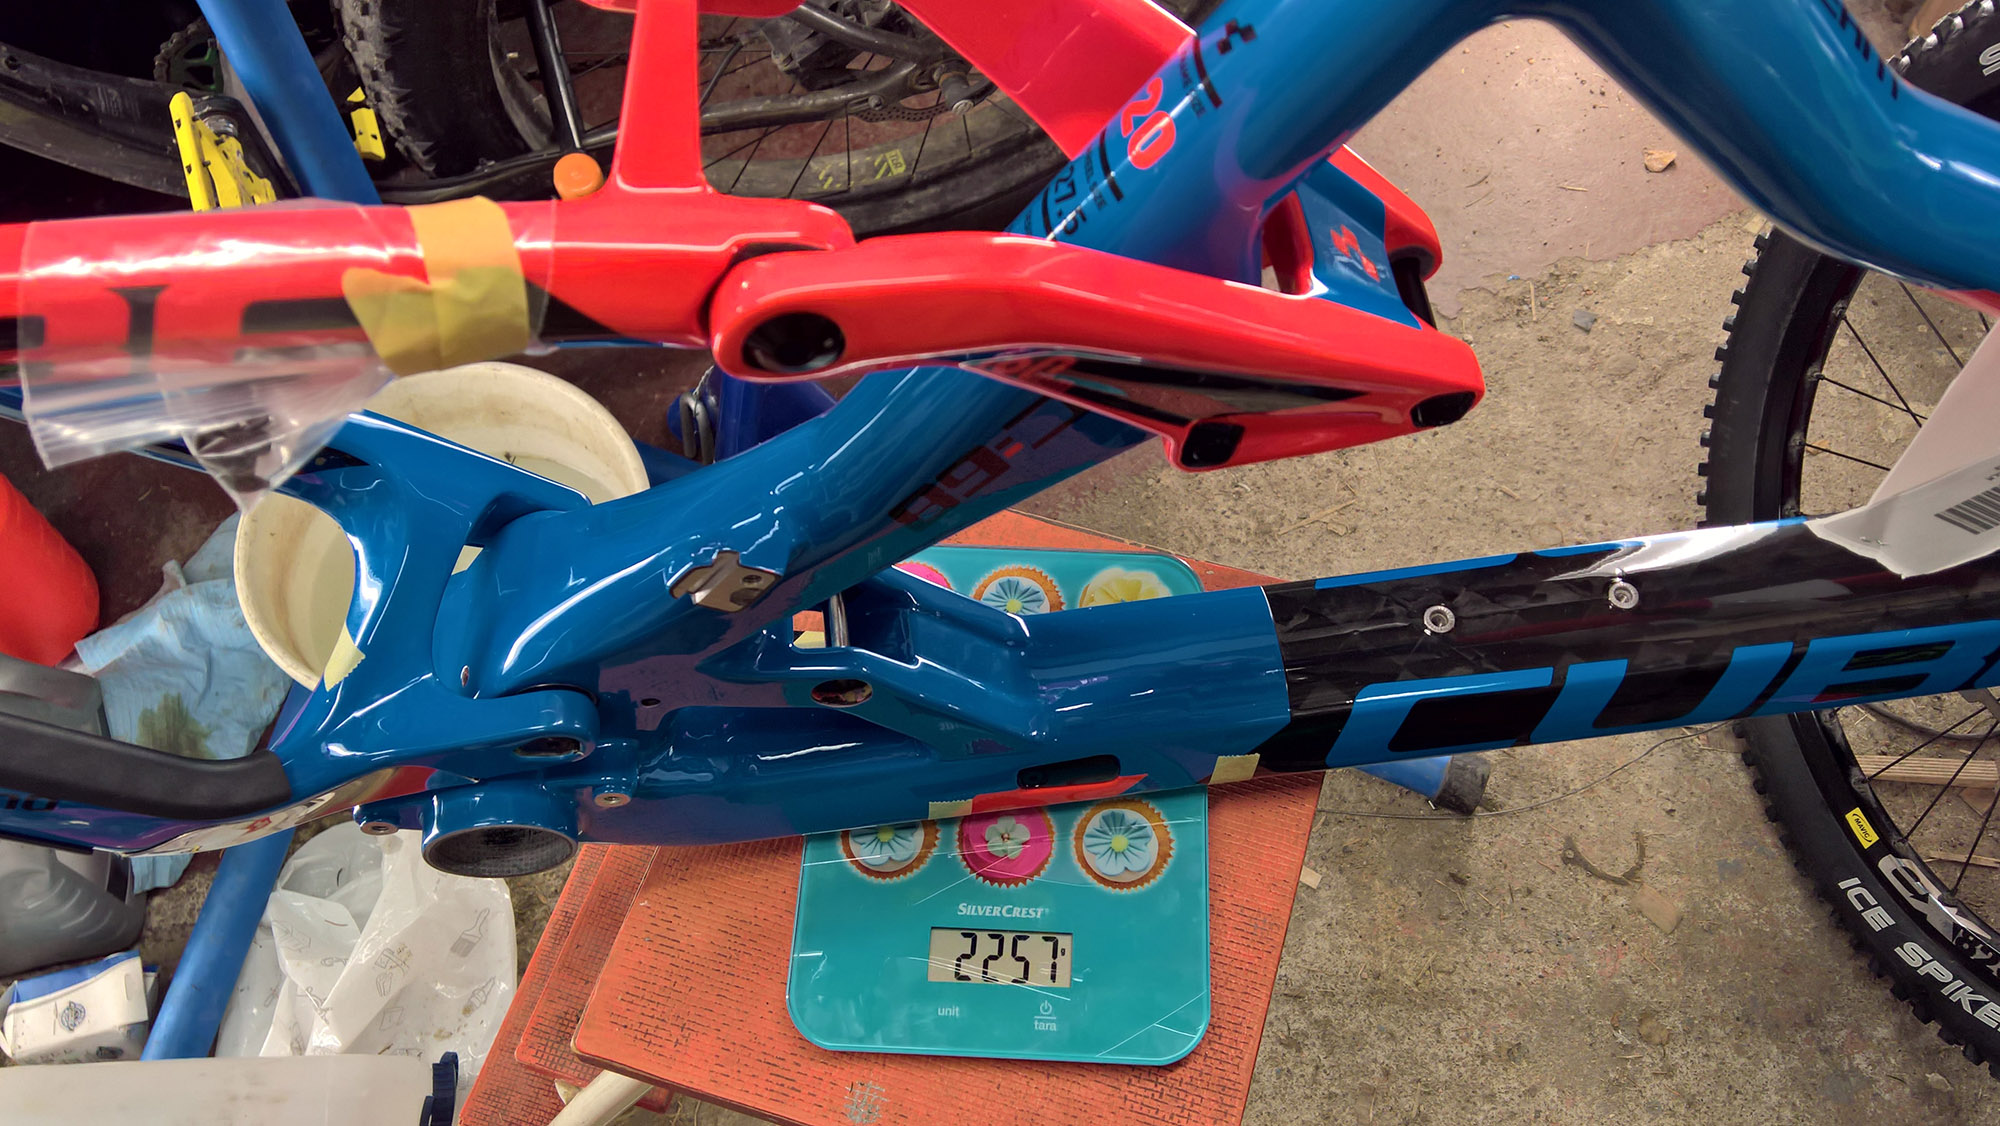
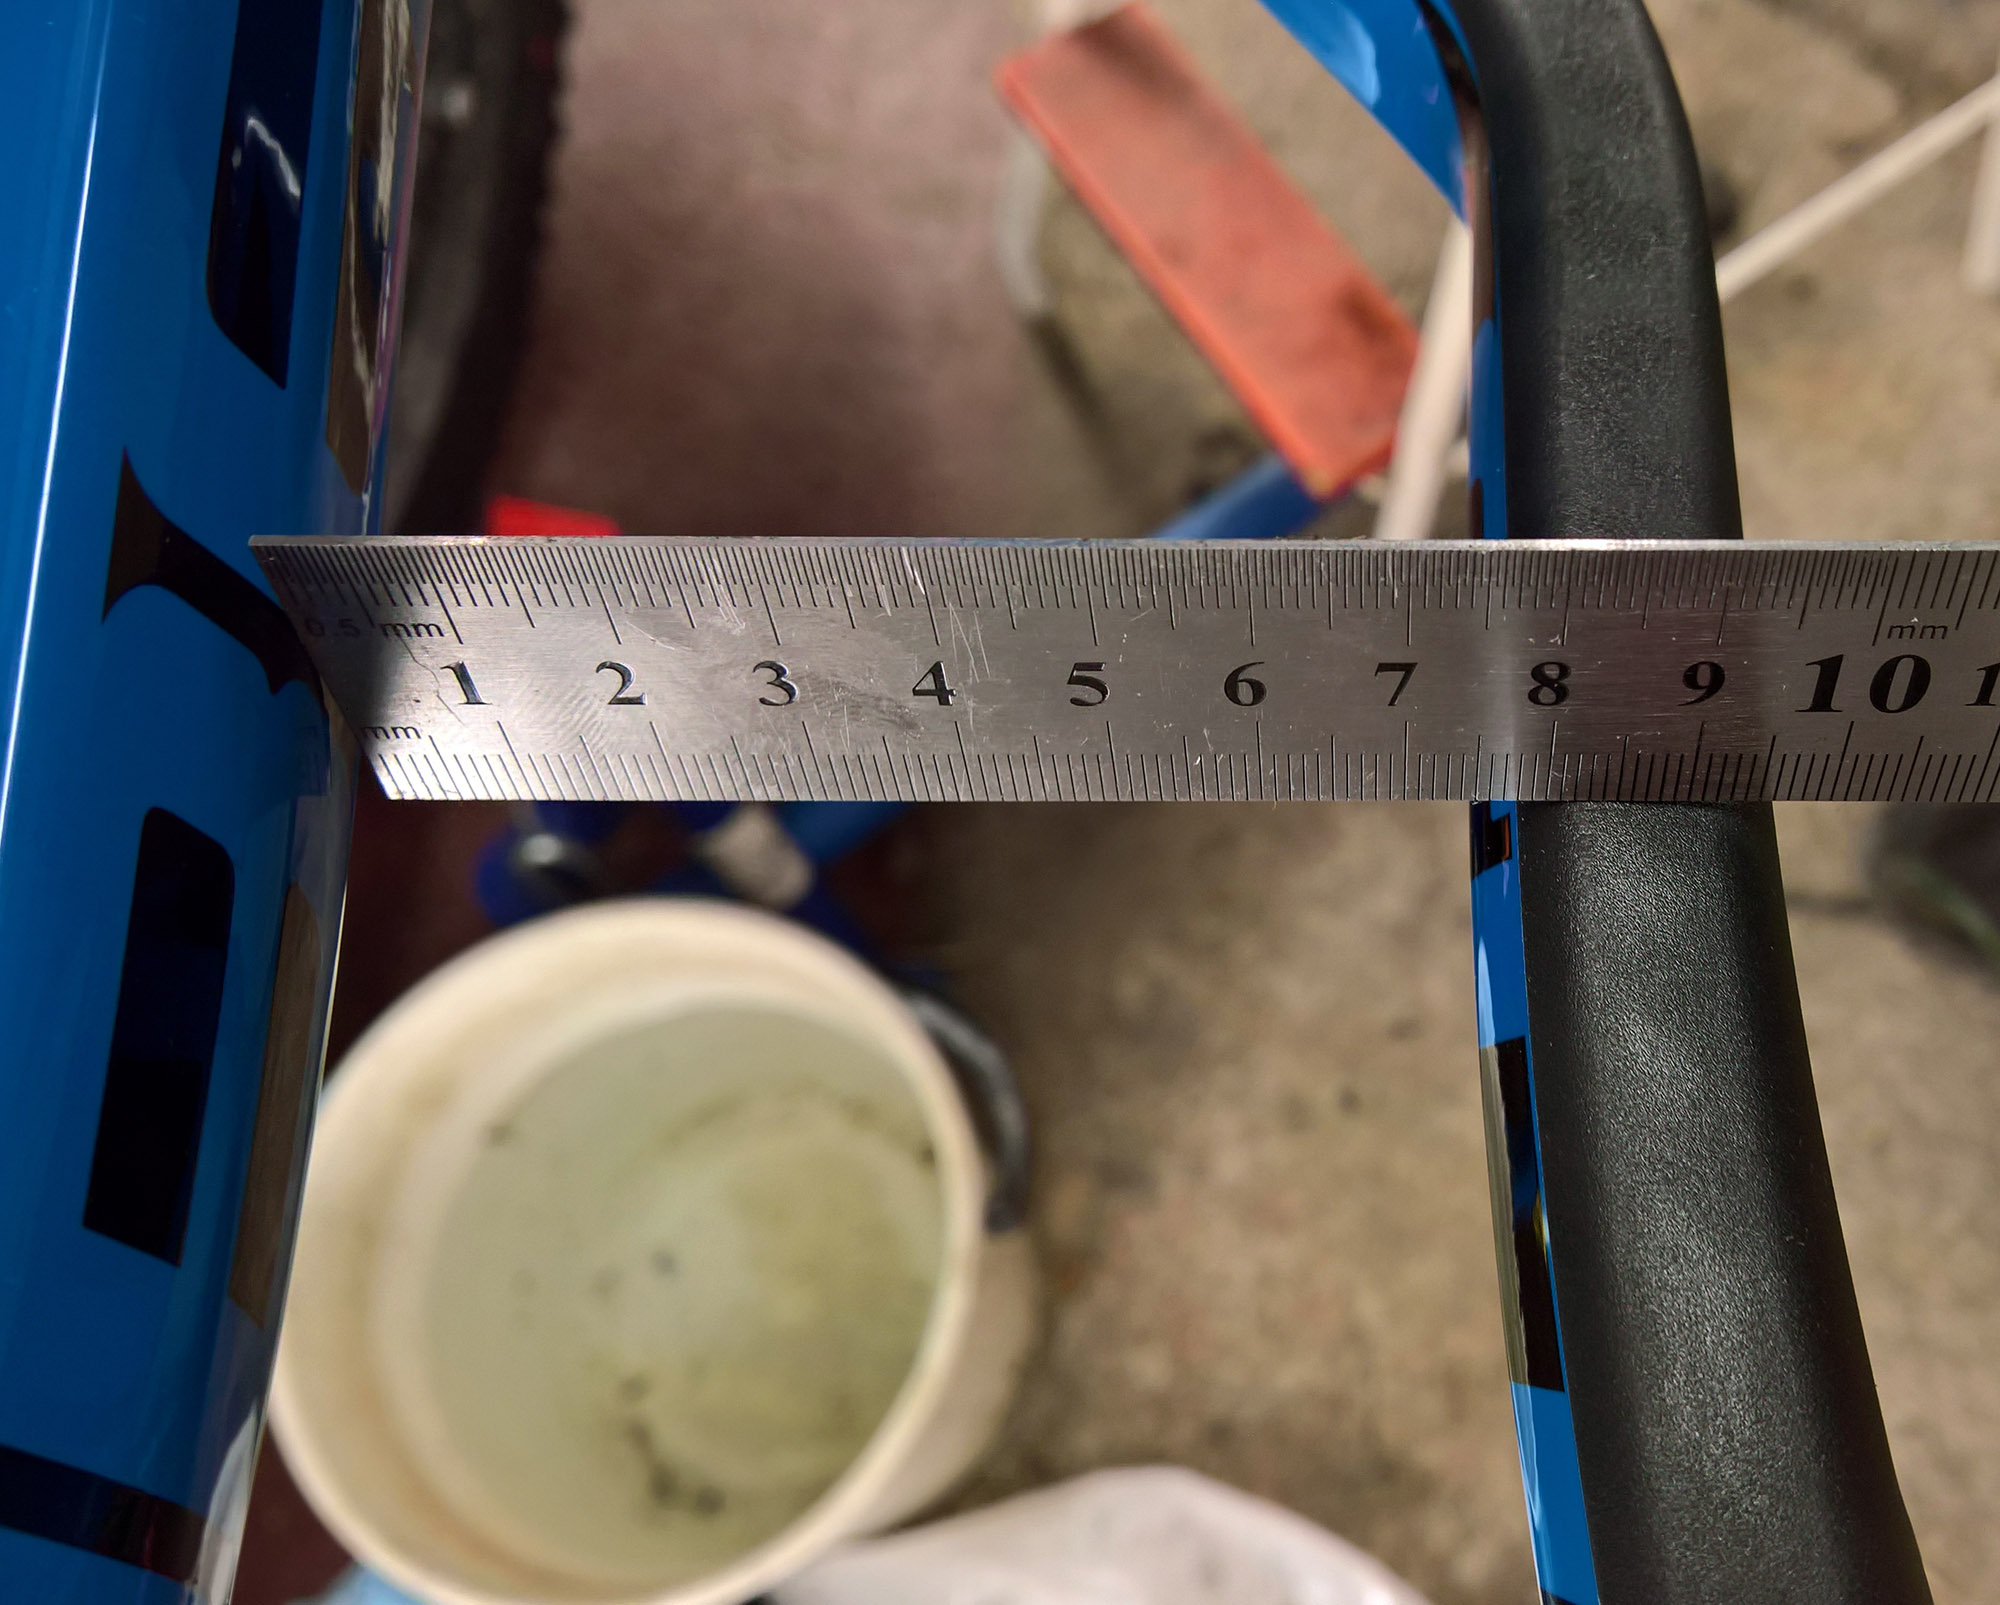
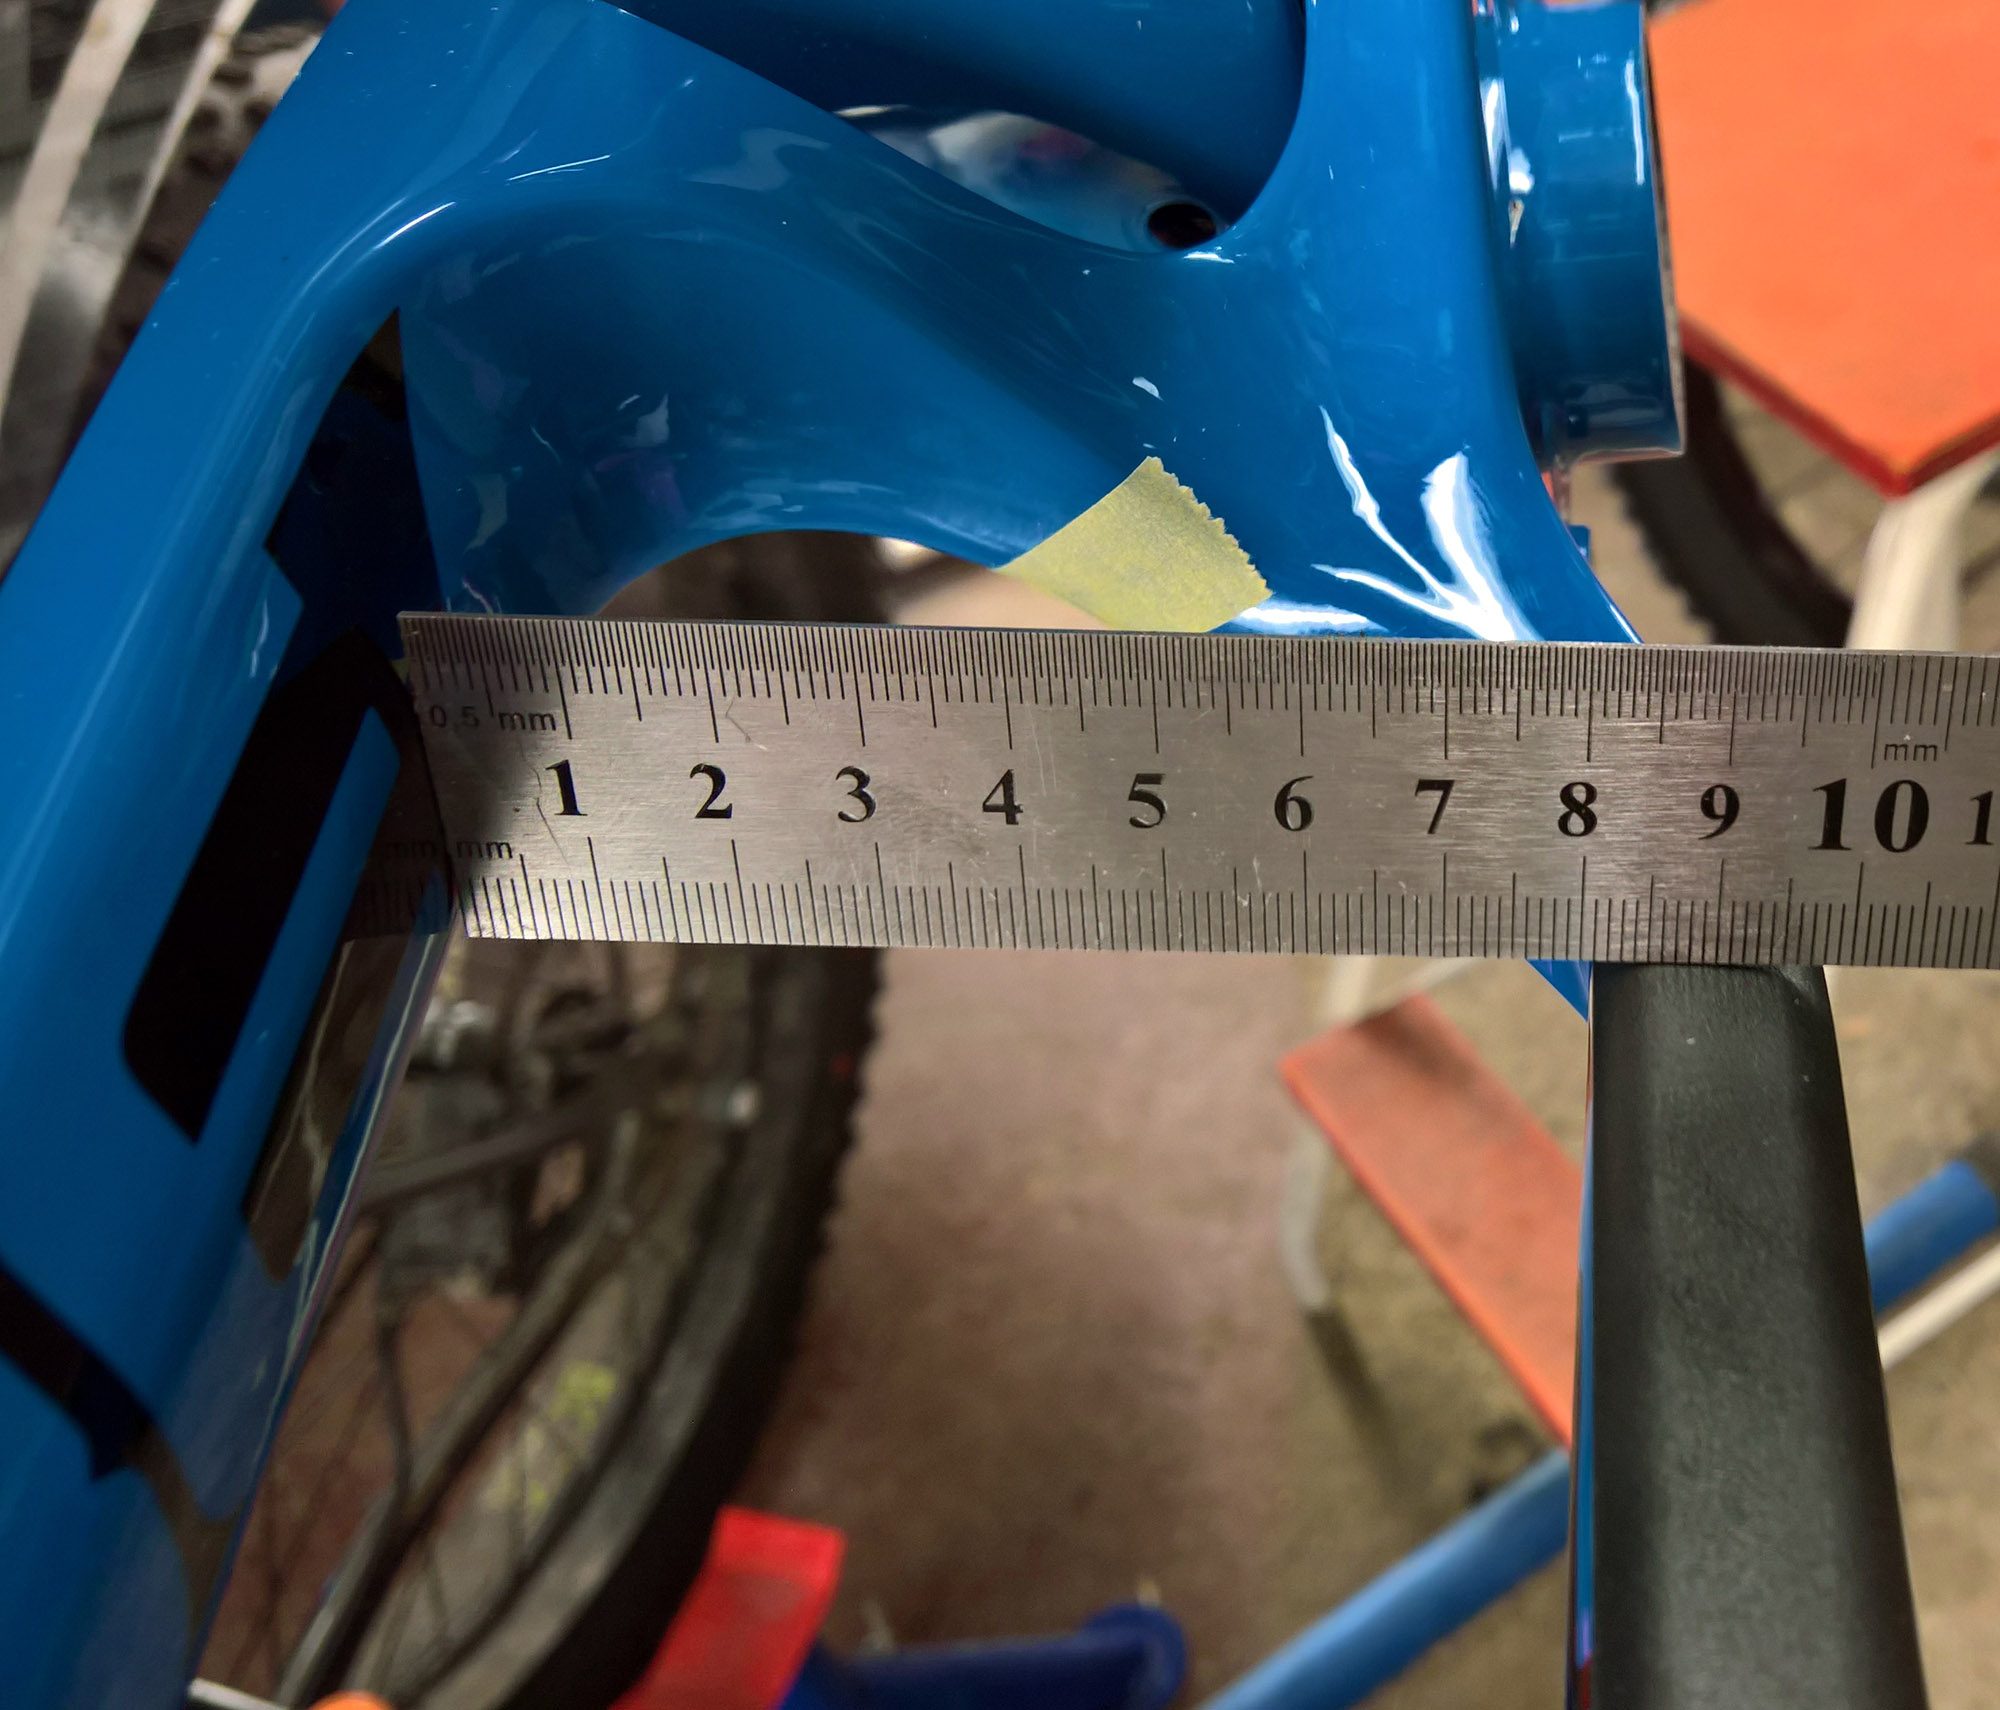
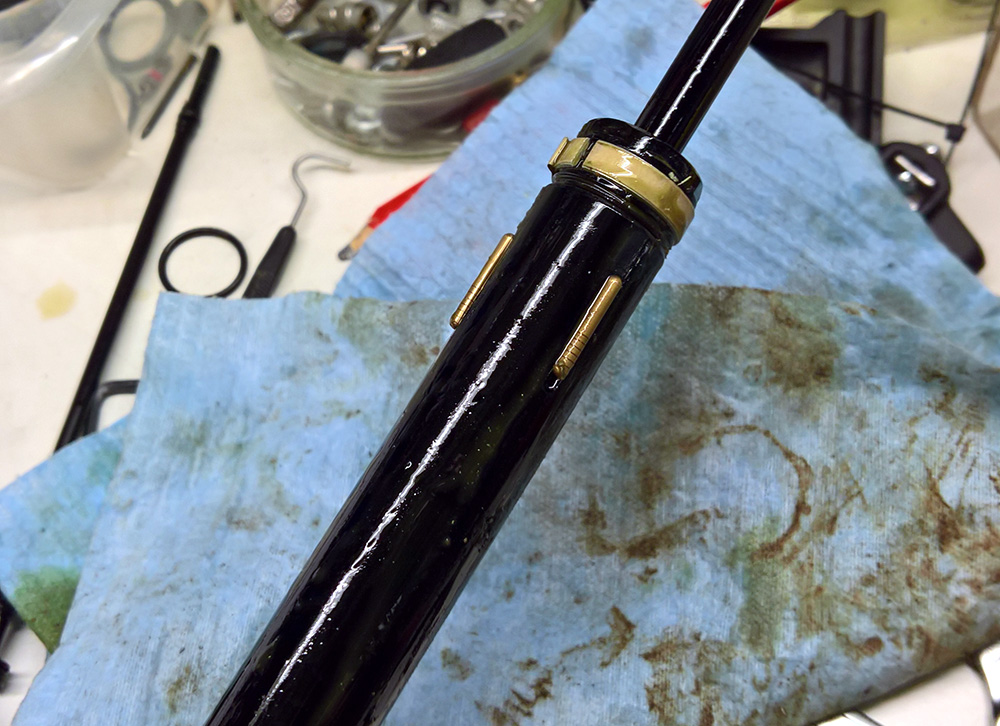
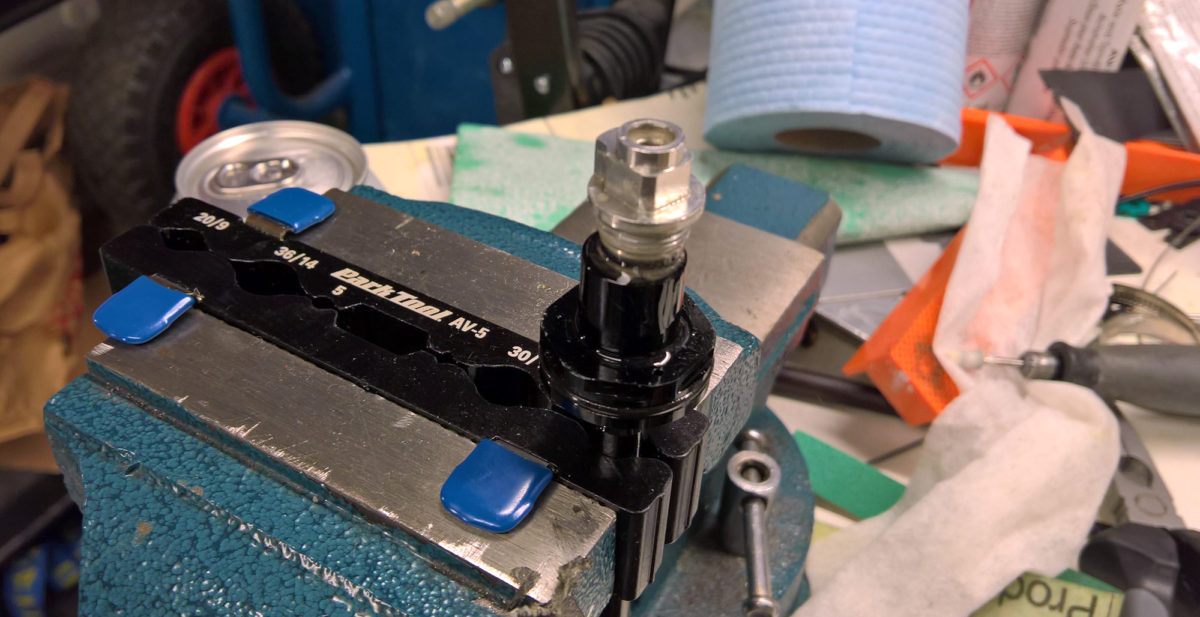
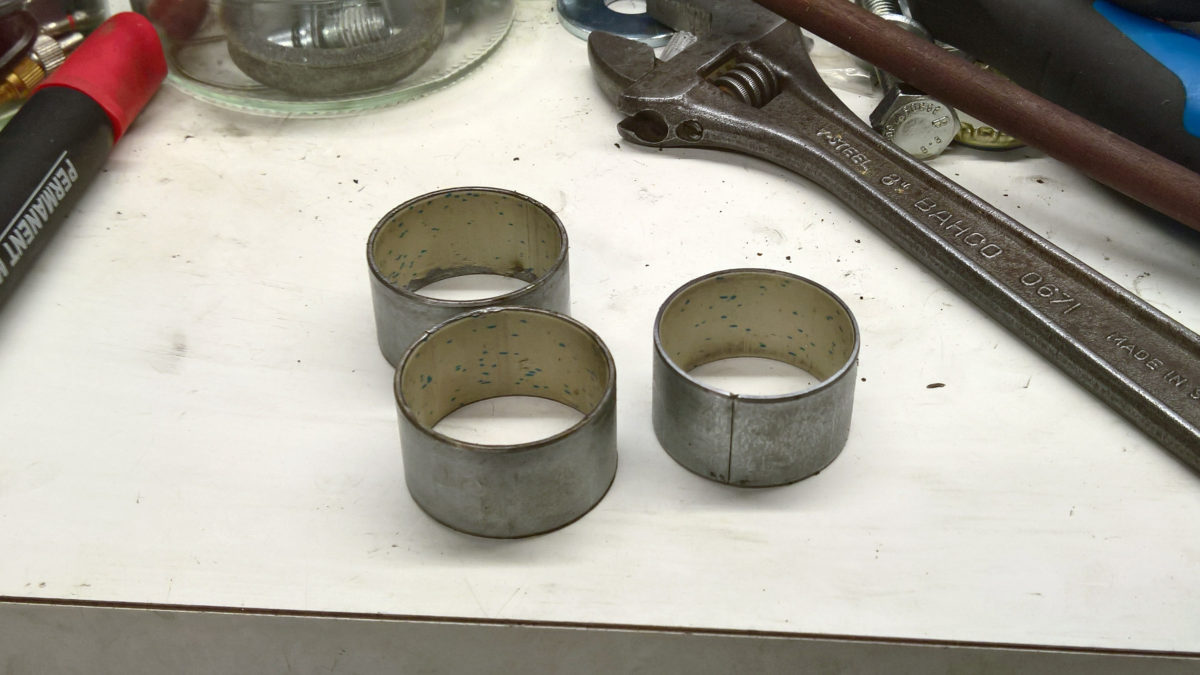
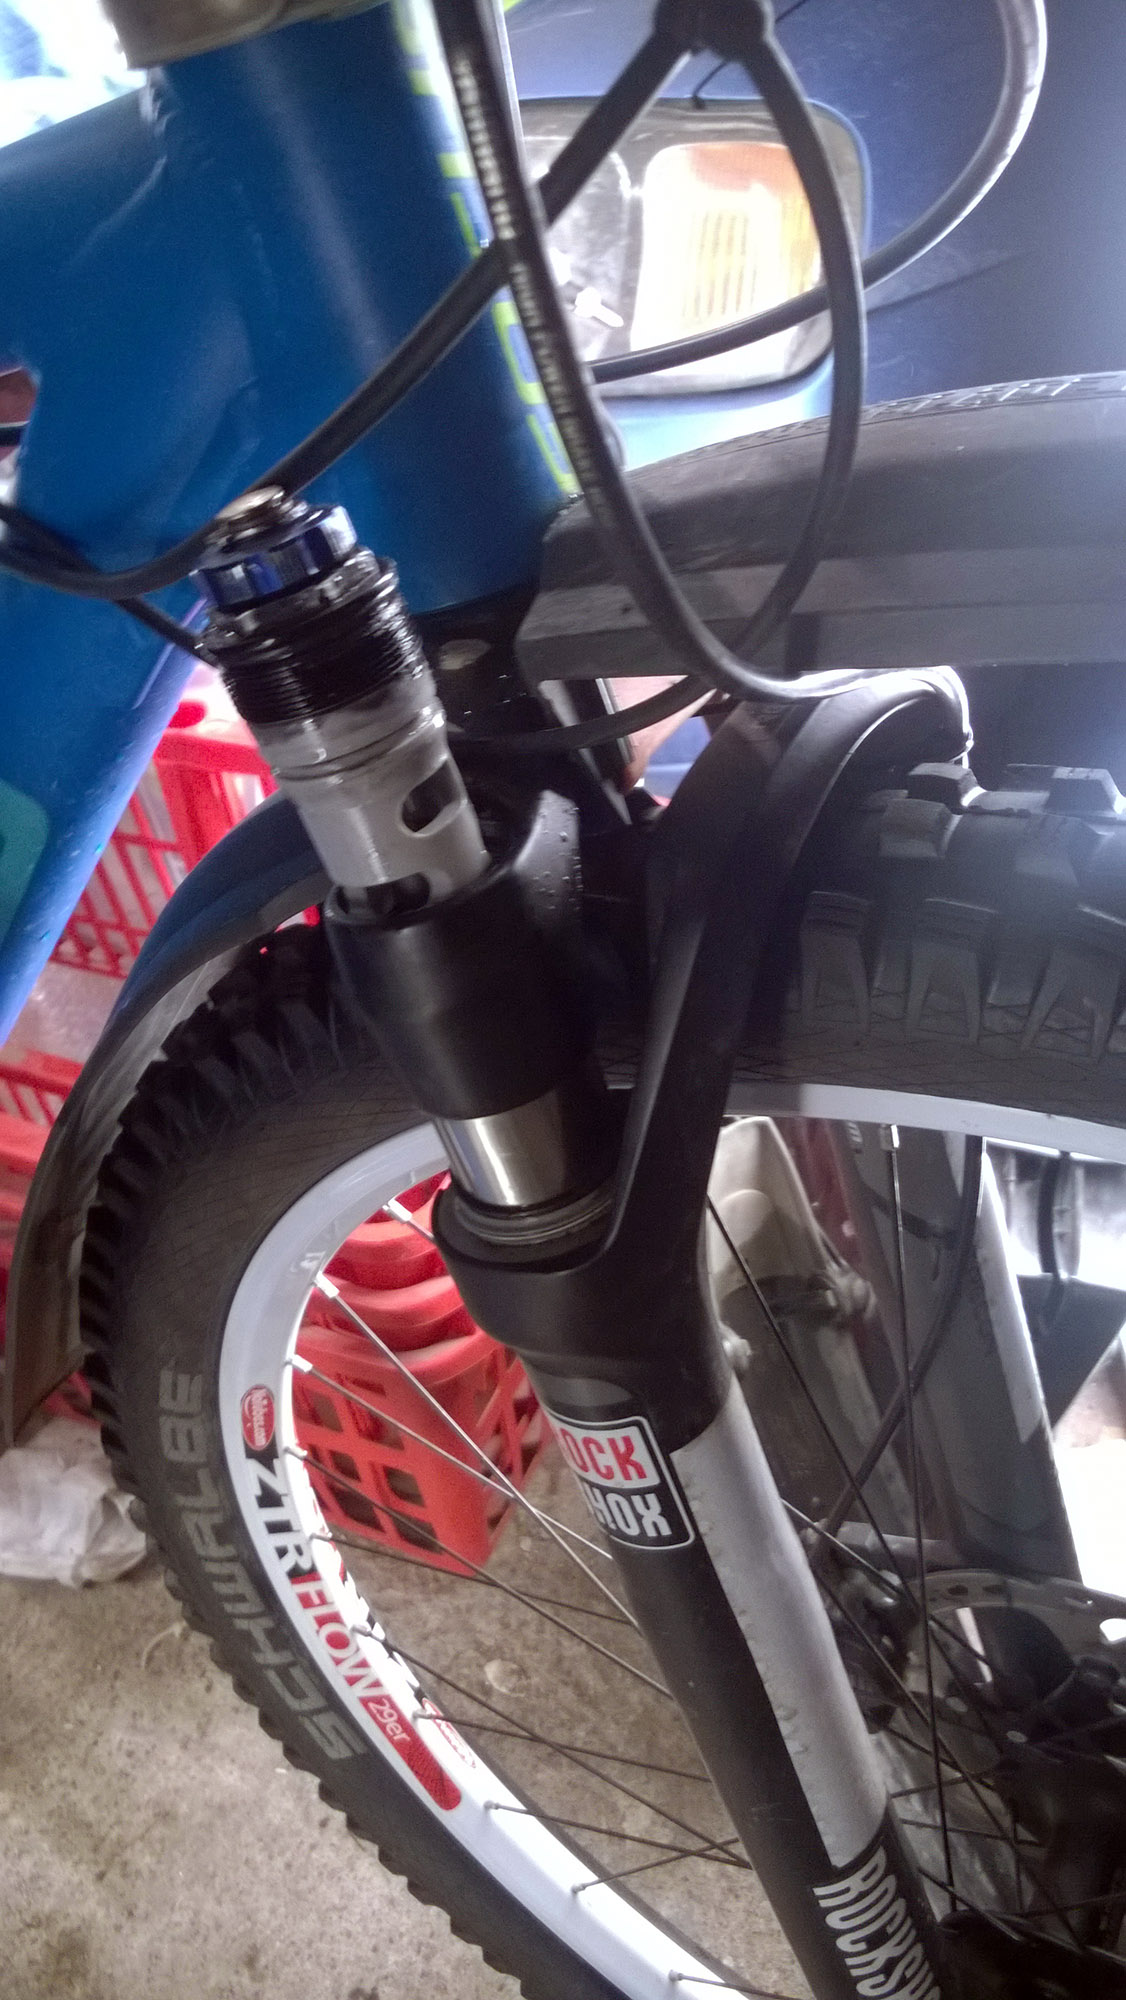
When I investigated the issue and opened the IFP cap to check IFP pressure, some pressure was relieved even when I had not touched the valve core. The valve was few revolutions loose and had been resting on the IFP valve cap (see image below)

IFP cap with marks from valve core shoulders

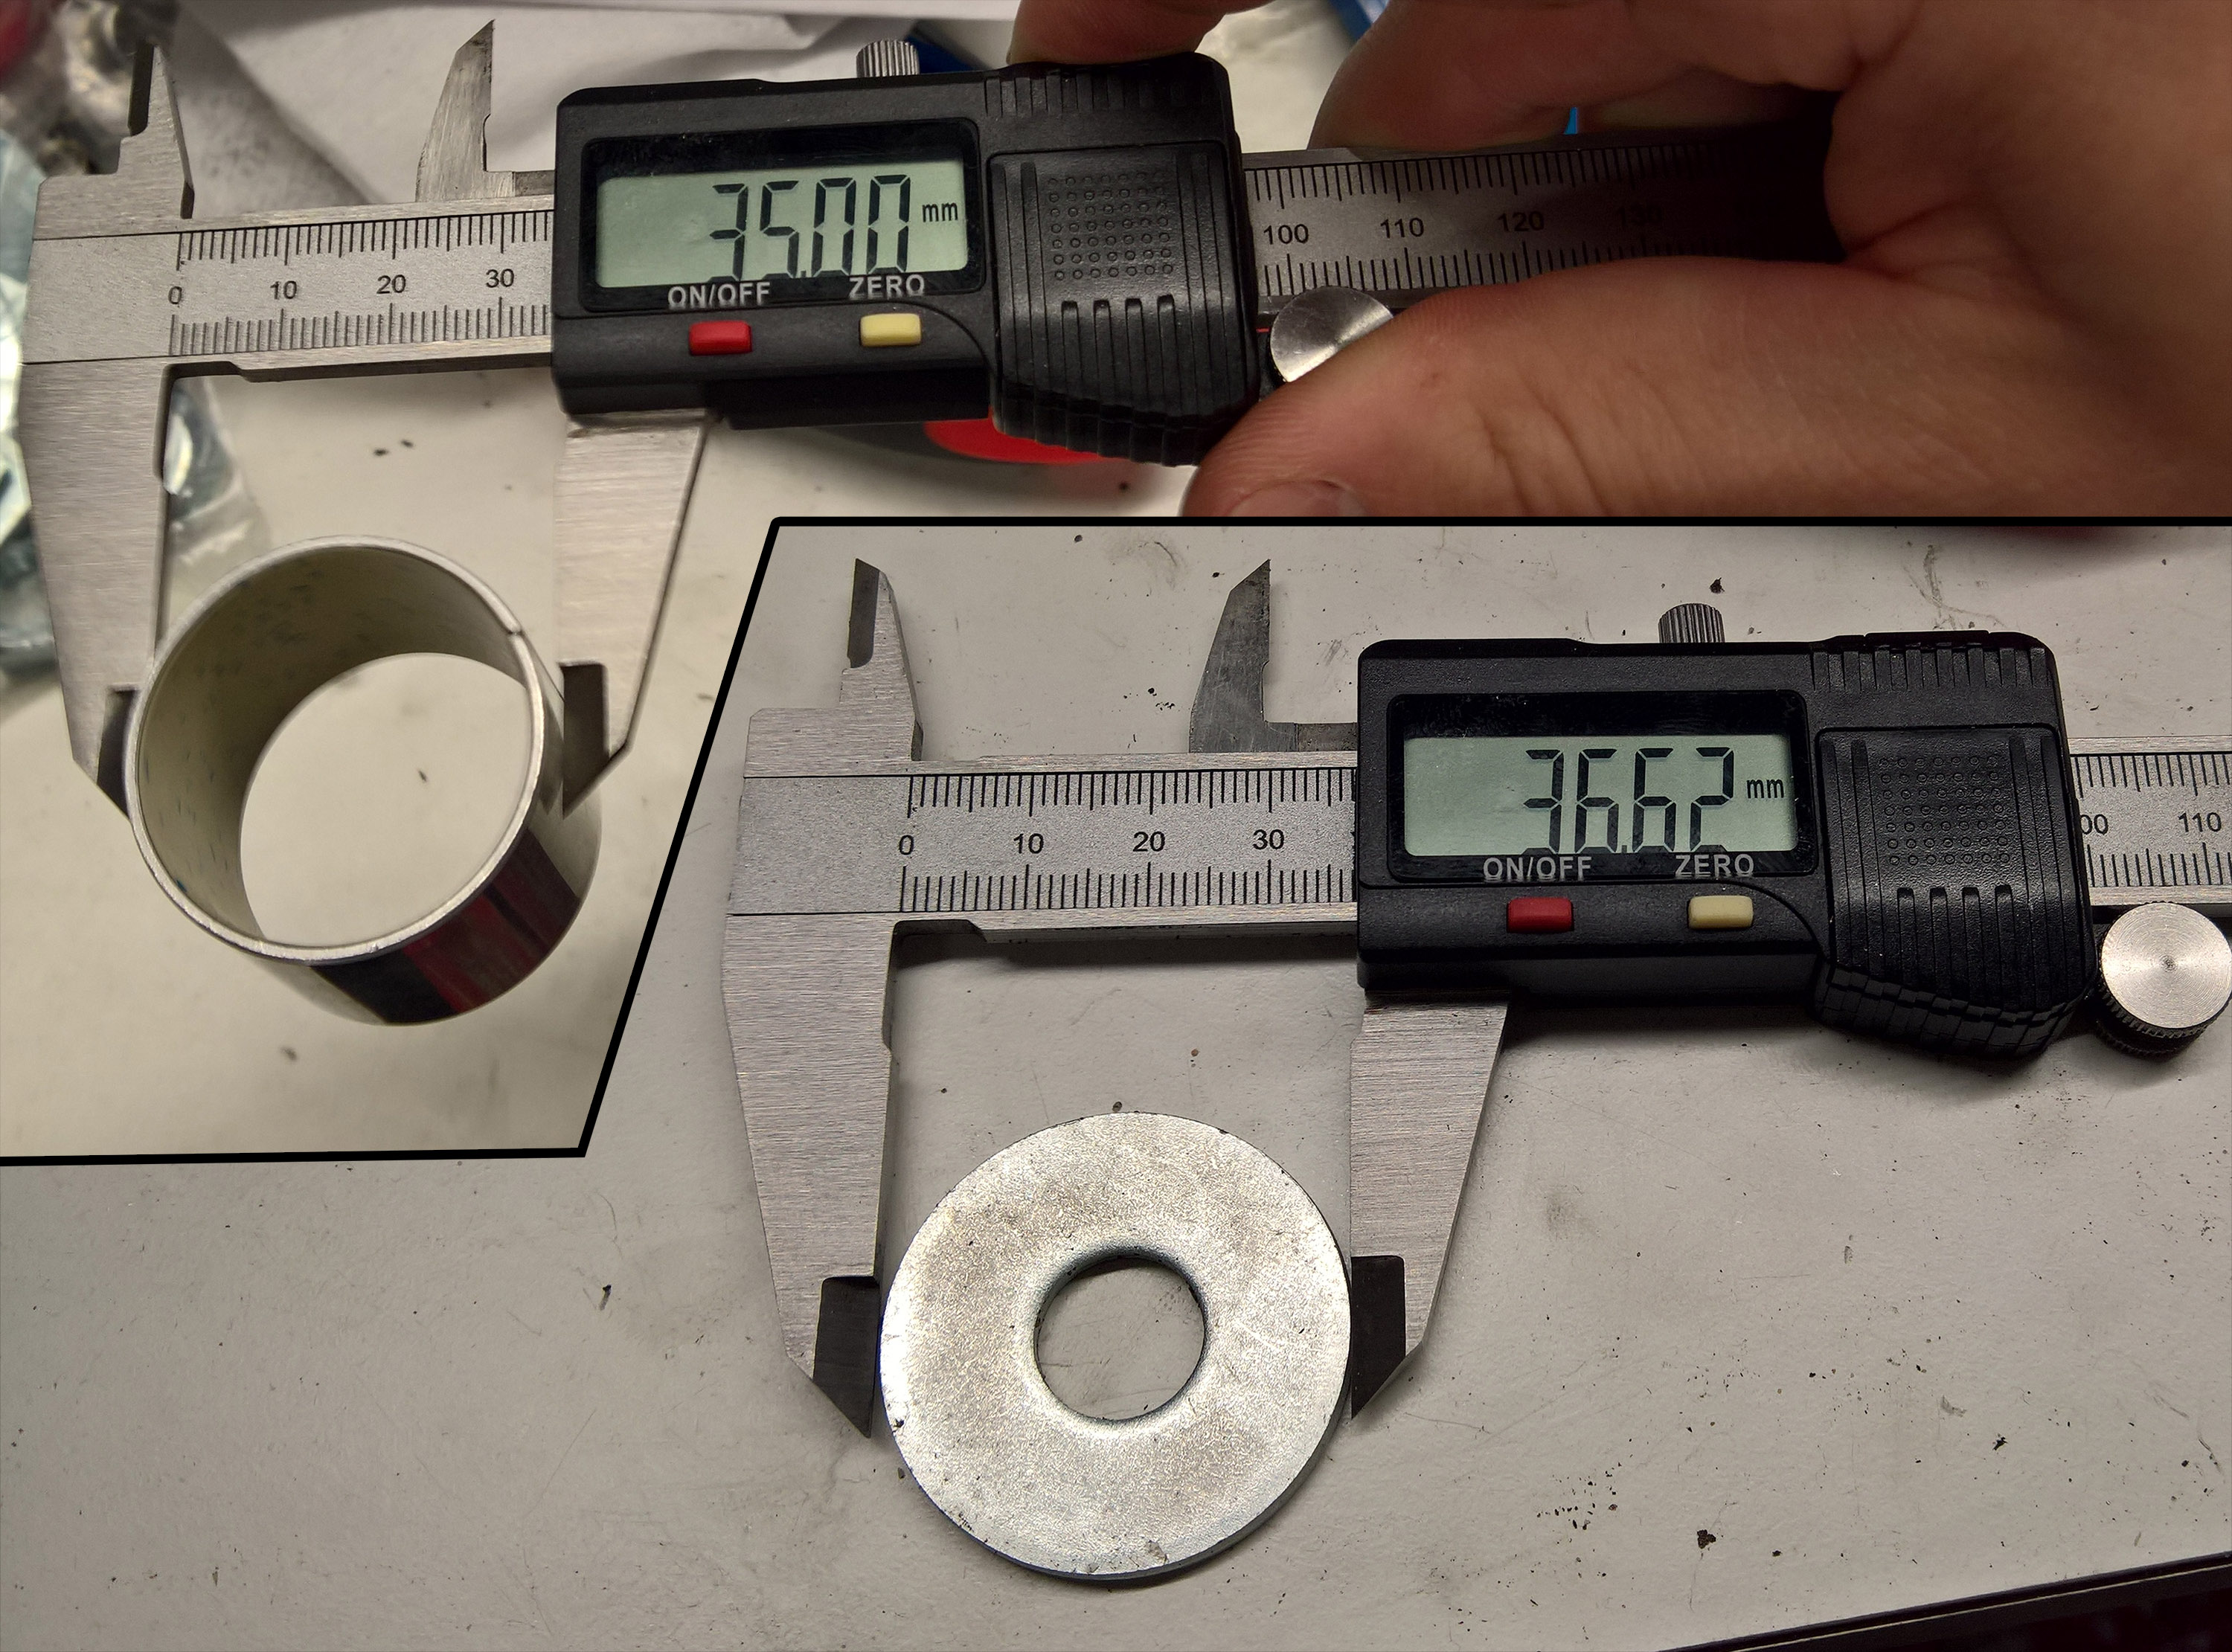
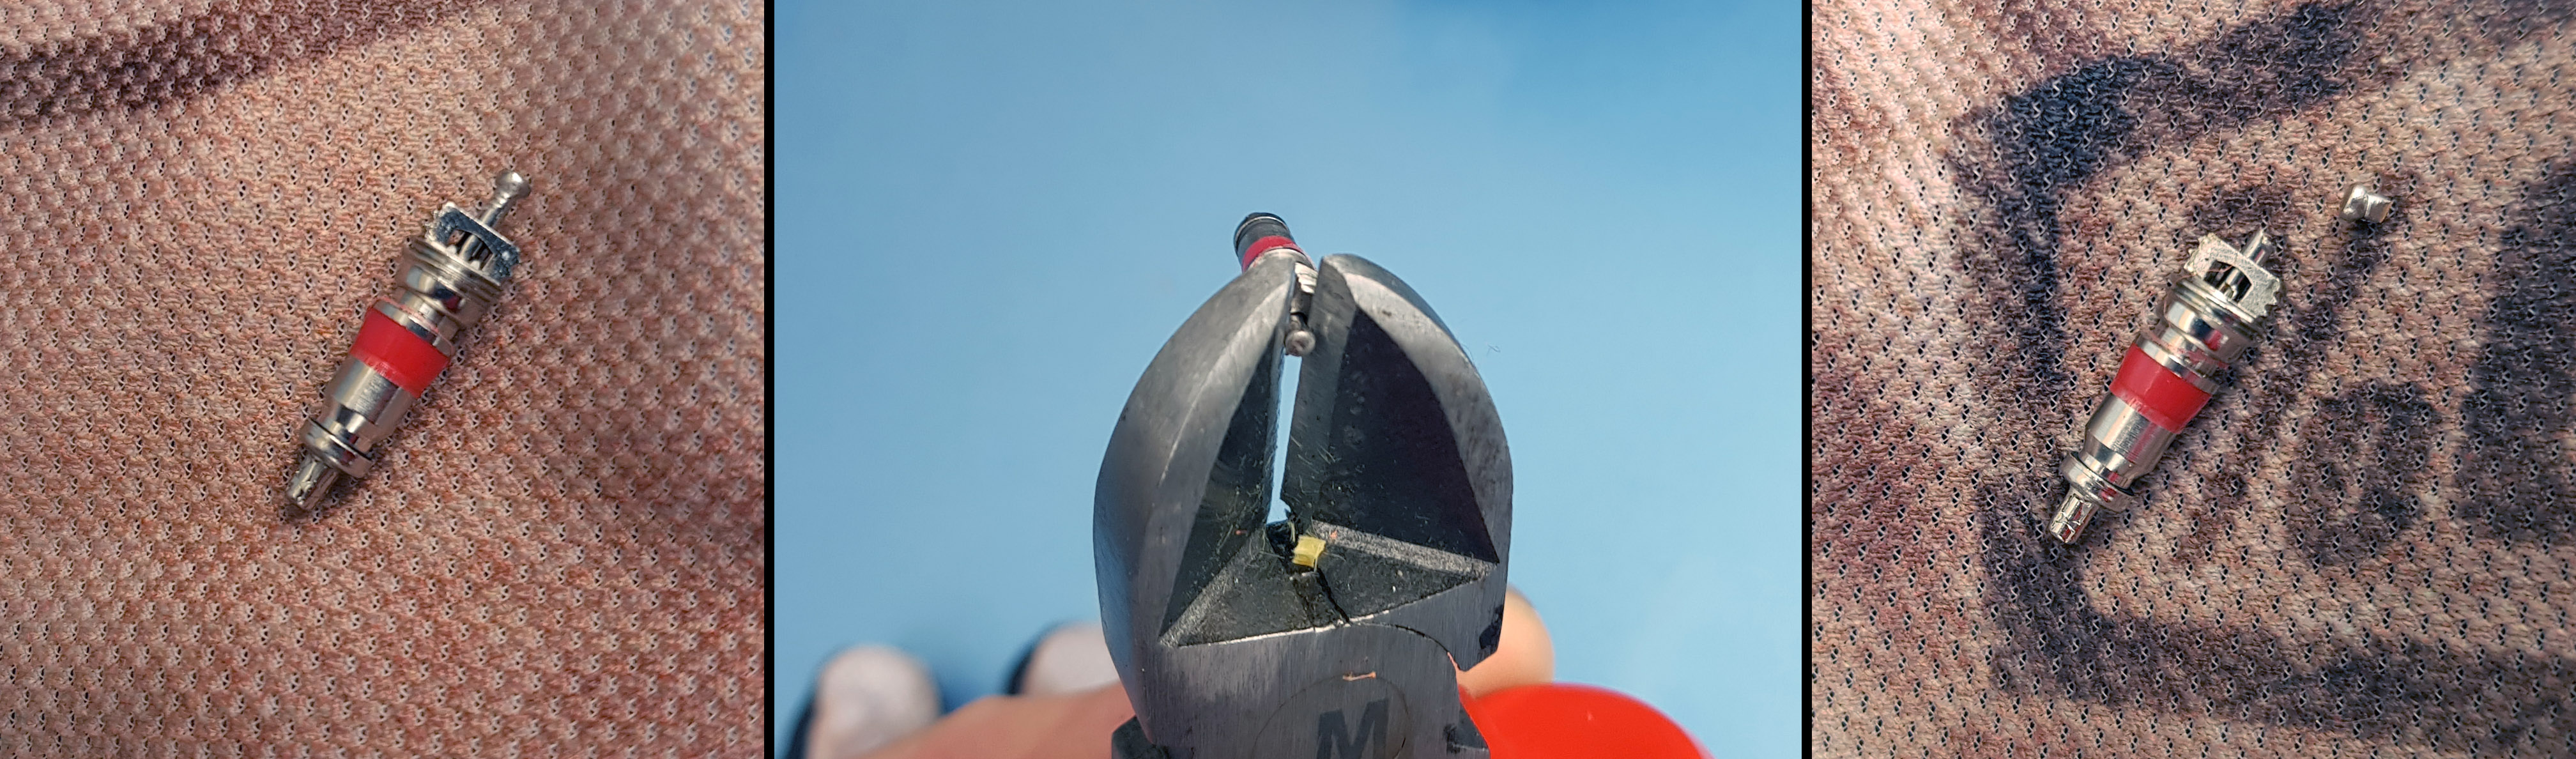
The valve was several revolutions loose and I then tightened it. Next I tried to re-pressurize the IFP and when I was removing the adapter+pump, the o-ring from the adapter blew off. Somehow the valve core was still open when the the adapter un-threaded. Finally I ended up cutting the wider part of the valve needle to make sure this is not possible, after this no o-rings have been blown.

Note: if you cut the valve needle, you cannot check the pressure of the IFP, but the valve still works and you can just pump the desired pressure. When filling up, first release some pressure from the ifp (it is best if the shock is not weighted) and then pump it back up to desired pressure.
This way you know that the pressure is  what your pump says as when opening the cut valve with pressure instead of pushing with the adapter, you need larger pressure on the pump side than what is inside, to open the valve. This is due the structure of the valve, where it has a larger area on the inside (more force with equal pressure, F=pA).

cutting the needle from valve core

This made the *klunk* a little softer but  did not fix it. I then rebuilt the whole shock and used the same seals/valves at it had been ridden like 2 months. After rebuild (including new oil, grease and bleed of the damper) it has worked flawlessly for months.

Now I check the IFP pressure always when ever I get a new Monarch Plus shock and do it before compressing it even once in the frame. I just got a new frame & shock and when checking, the pressure was released and the valve core was 1½ revolutions loose..

I now hope that it is enough to pressurize the IFP before riding the bike to prevent the *klunk* from happening.  My fear is that the IFP could be faulty installed or some other failure..

To check and correct the IFP pressure

  1. set rebound and compression to open
  2. open IFP valve cap and hope that no pressure is released (see the video below and sorry about the Finnish, see description for English)
  3. check if the IFP valve core is loose
  4. <optional> remove the valve core and cut the valve core needle to make sure it stays closed when needed <optional>
  5. use valve core tool to tighten the IFP valve (I have come across that they are loose from 1.5 to 4 revolutions!)
  6. thread Rock Shox Monarch Air Valve Tool (00.4315.027.010  or https://www.sram.com/rockshox/products/air-valve-adapter-tool ) to your shock pump
  7. pressurize the IFP as Rock Shox service manual instructs (250psi for Monarch Plus)
  8. thread the IFP valve cap back on

FAQ

Q: I did what you told and everything went to shit.
A: I take no responsibility on what you do based on this guide, you do it on your own responsibility (as every DIY project, duh). This post is mostly about sharing knowledge of a possible issue in your rear shock.

Q: How does the lowered IFP pressure / *klunk* affect my riding?
A: The damping performance is ruined and the platform or “notch” that is created effectively ruins small bumb compliance as the travel stops at the *klunk*

Q: What causes the platform or *klunk*?
A: It is very probable that the lowered IFP pressure induces cavitation in the damper oil, producing gas or foam to hinder the damper smoothness

Q: I already have the *klunk*, what should I do?
A: Contact RockShox, this should be a warranty issue, at least with quite recent shocks.
A2: You can check the IFP pressure as described above, but it will probably not help a lot. Next step is to do rebuild or at least re-bleed the damper. (I will try this the next time I have this issue)

Q: Shouldn’t the IFP be pressurized with Nitrogen?
A: Nitrogen is best but air is good enough and even supported by Rock Shox in the service manual. (air is around 78% Nitrogen and 21% of Oxygen)

Q: The service says that this is normal and related to air pressure equalization between the positive and the negative chamber.
A: Could be, but that is a very small step and shouldn’t happen on every compression. Otherwise the pressure would be constantly leaking from either chamber. The *klunk* described is a very clear platform (you need more force to compress the shock over it) and you’ll definitely know that something is not right

New frame!

Today I got a new frame, Cube Stereo 160 C:68 27.5 action team 20″.

Here is some porn.

Converted to hardtail via 20mm electricity tube. (to prevent the swing from hitting the frame)

The scales were tipped at 2259g for the frame with internal routing guides and some screws.

Wheel clearance is quite good, chainstay measures from 75 to 80mm in the tire area.

Unfortunately the Pike is not quite the same color ;P

The downtube seemed like black in the retail pictures, but it is not 🙂

Geometry

From Cube web page:

Frame features:

  • Material: Carbon C:68 Monocoque Advanced Twin Mold Technology, ATG, ETC 4-Link, Boost148
  • Seat post: 31.6mm
  • Seat clamp: 34.9mm
  • Front deraileur: Direct Mount Side-Swing (Only compatible with Direct Mount Side-Swing front deraileur!)
  • Headtube diameter: Tapered 1 1/8″ – 1 1/2″ integrated IS41 – IS52
  • Bottom bracket housing: Pressfit 92mm
  • Disc brake mount rear: Postmount
  • Wheel size: 27.5″
  • Rear Shock installation length: 200x57mm
  • Bushings: 22x8mm / 30x8mm
  • Recommended Fork Travel: 160mm
  • Dropout: Thru Axle X12 (12x148mm) Boost


What’s wrong with my Reverb?

I recently got a broken reverb from my friend.
He said that it had had some sag and finally it totally collapsed.
I of course was interested if it could be fixed.

The post could be compressed by hand and did not hold the position.

First I noticed that it was lacking almost all of the pressure.

Continue reading “What’s wrong with my Reverb?”

Checking the bearings on Specialized Hi-Lo hubs

I have reused the original hubs from my 2011 Specialized Enduro Comp as rebuilt wheels with SixPack Racing spokes (double butted, 2-1.8-2mm) and Stans Flow Mk3 rims.

I thought that the bearings could be smoother and decided to take apart the hubs and check what kind of bearings they have.

1st step was naturally to take off the brake disc to prevent any contamination. Continue reading “Checking the bearings on Specialized Hi-Lo hubs”

Reducing sag on Reverb Stealth

Has your Reverb Stealth developed sag?
You don’t dare to use your Reverb in the winter in fear of the sag and expensive rebuild?

About 20mm of sag after riding an hour in -17C

Fear not, the sag does necessarily mean full rebuild, as it can easily be reduced with fork oil level tool (and few open end wrenches).

Continue reading “Reducing sag on Reverb Stealth”

Myllykallio Enduro Training Center 3rd person + new line

Routed a new line on Myllykallio. This is so far the most technical and might still change a little as the flow was broken few times.

Here are also few of the spots in 3rd person view for a little bit better measurement.

EK3 huck
EK3 huck
myllykallio-ek4-droppi
EK4 huck


Myllykallio Enduro Training Center Pt2

Another training session at Myllykallio with one new track (EK7) and some improvements to old ones.


EK7, a new track with a nice little huck in the middle.

ek7_droppi

ek7_droppi_side


EK2 got just a little reroute to include two new hucks.

EK2 huck1
EK2 huck1

Continue reading “Myllykallio Enduro Training Center Pt2”

Myllykallio Enduro Training Center

I had a thought, that my local (500m from home) rock could act as a training place when I would not have time to go further.

Now I finally got to go route it and got a friend with me. We spent few hours routing and cleaned some rock and wood, and in the end, we had 5 new routes.

As per usual, the camera makes everything so smooth and nice 🙂

EK2 start
EK2 start

Recon Silver bushing replacement part 1: removal

My trusty RockShox Recon Silver had one broken bushing as shown in my previous post. I believed that the bushings could not be changed as 2011 Recon (Silver) manual says so, but then I heard that they could be replaced and looked into 2013 manual which did not contain the info, that lower legs should be replaced after bushing wear.

I then tried to reason between running it with the broken bushing until it breaks, taking it to local shop for bushing replacement or buying new bushing and trying to fix it by myself.

The little engineer/mechanic in me took over and soon I was googling how the bushing could be replaced. I finally found a post on mtbr.com forums that had some good stuff written by username bad mechanic . So I ordered new 32mm bushings and started gathering materials for the tools.

M12 washer seemed to be properly oversized to make the extractor tool.

32mm_bushing_and_washer_for_removal_tool
32mm bushing and M12 washer. NOTE: the old and compressed bushings were only 34.5mm, so proper tool diameter would probably be 34mm.

Continue reading “Recon Silver bushing replacement part 1: removal”

Recon Silver cleanup

It was once again time remove the lower legs for cleaning. This was supposed to be simple task, but as usual, it was not.

After removing air I noticed that the travel was limited and thought could it be the damper as previously today someone told me that argyle damper was too long on his Recon Silver. Apparently the damper is shorter on 2016 models.

limited travel and open damper to make sure it was not to blame
limited travel (open damper to make sure it was not to blame)

Continue reading “Recon Silver cleanup”