Has your Reverb Stealth developed sag?
You don’t dare to use your Reverb in the winter in fear of the sag and expensive rebuild?
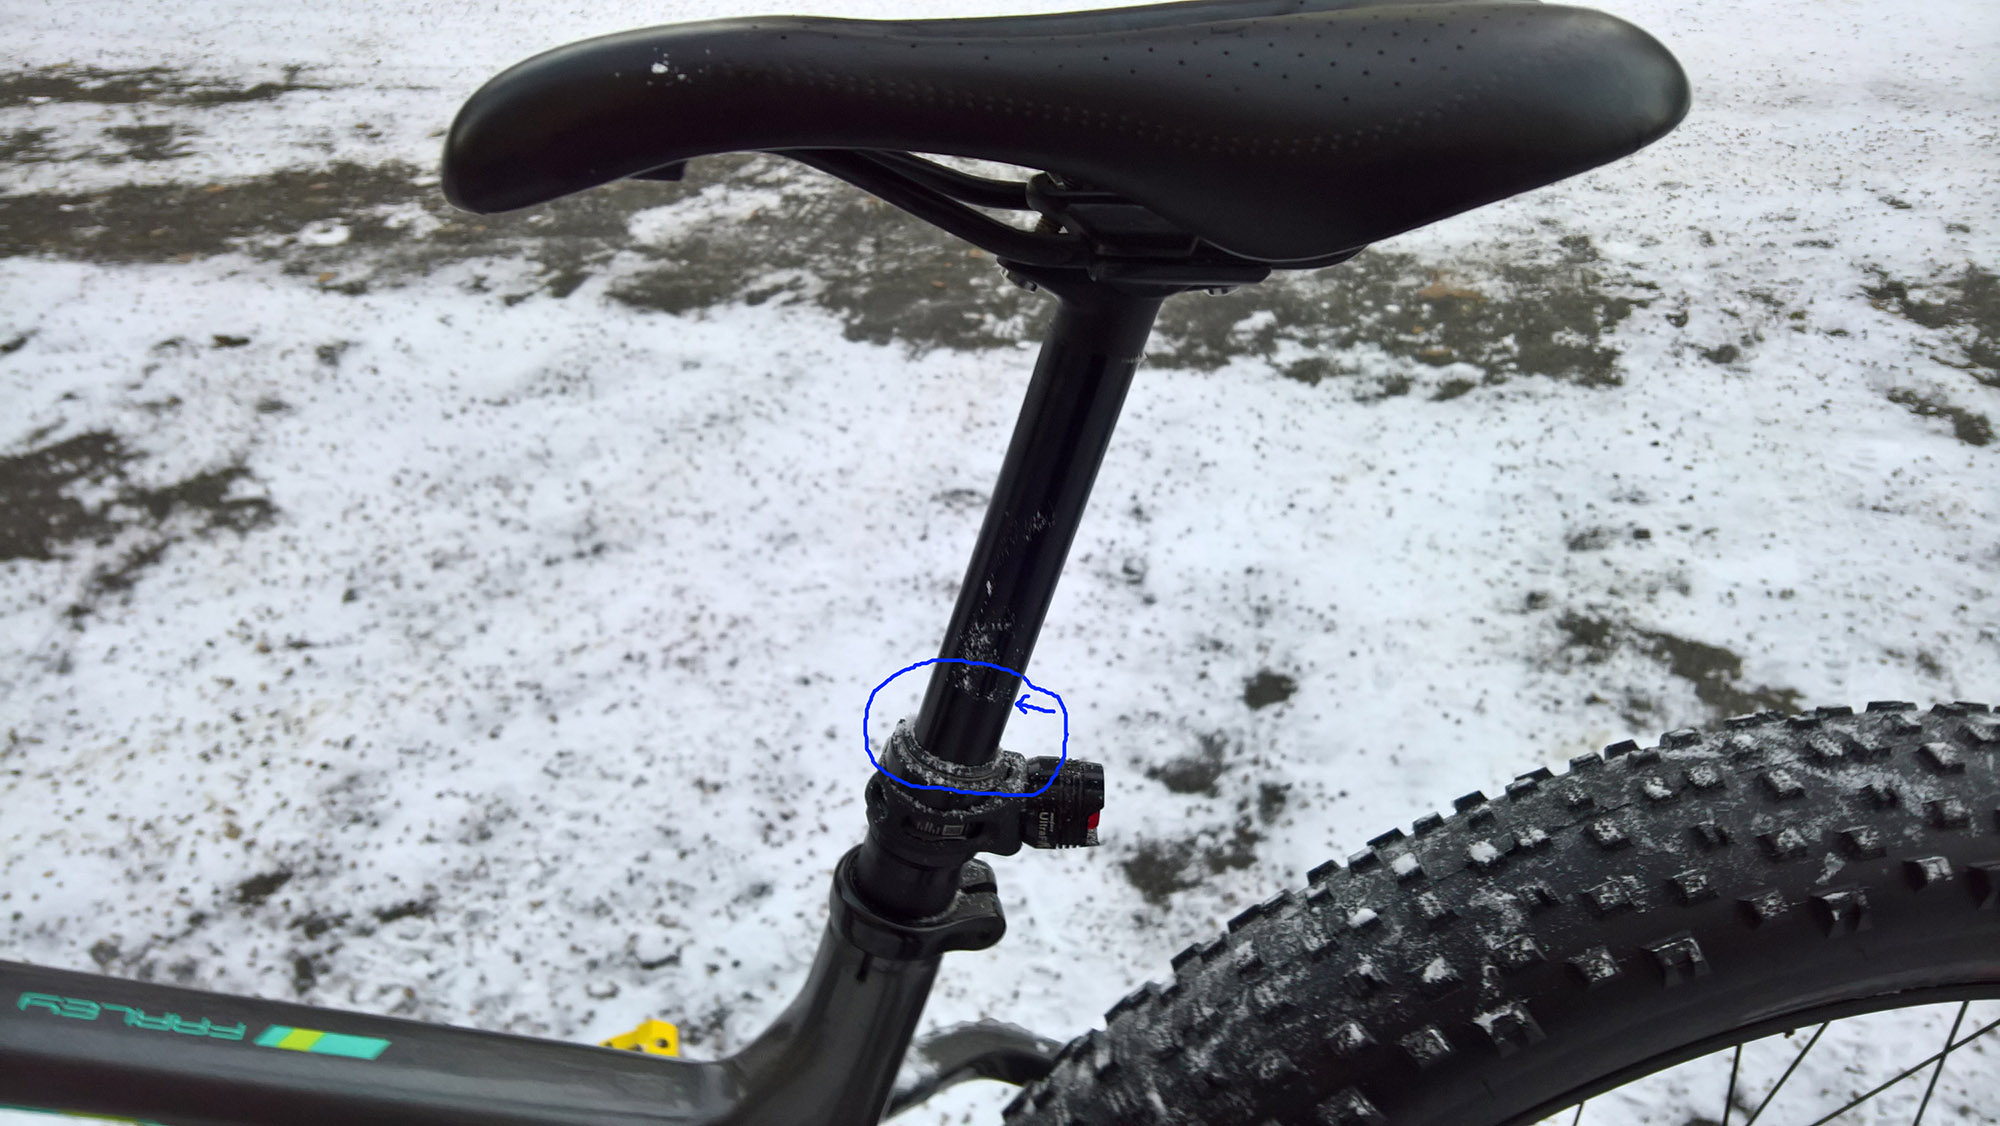
Fear not, the sag does necessarily mean full rebuild, as it can easily be reduced with fork oil level tool (and few open end wrenches).
DISCLAIMER
This is a documentation on how I have twice removed the sag on my reverb stealth, once after buying it cheap as “faulty” (40-50mm sag) and another time when I rode and used it in -17C (developed 20mm sag).
USE ON YOUR OWN RISK
For detailed steps about Reverb Stealth A2 rebuild, see SRAM manual.
If unsure on what steps to take for dis- or re-assembly see the manual as this guide has only the necessary steps.
NOTE: As the oil volume is increased a little by little, eventually you will probably have to do a full rebuild.
To start the process, remove the post from the bike and disconnect the remote (if not already done) as you do not need it in this build.
First let all air pressure out of the post and remove the air valve core.
Then press the poppet valve from the lower end of the post (hole where the remote tube attaches) with hex-wrench or similar. This is an optional step that might help to equalize possibly remaining internal pressure inthe oil.
Remove the snap ring in the bottom of the post and push from upper post to expose the inner shaft. Then mount (or have someone to hold) the post vertically, upside down (i.e. poppet valve cover pointing upwards).
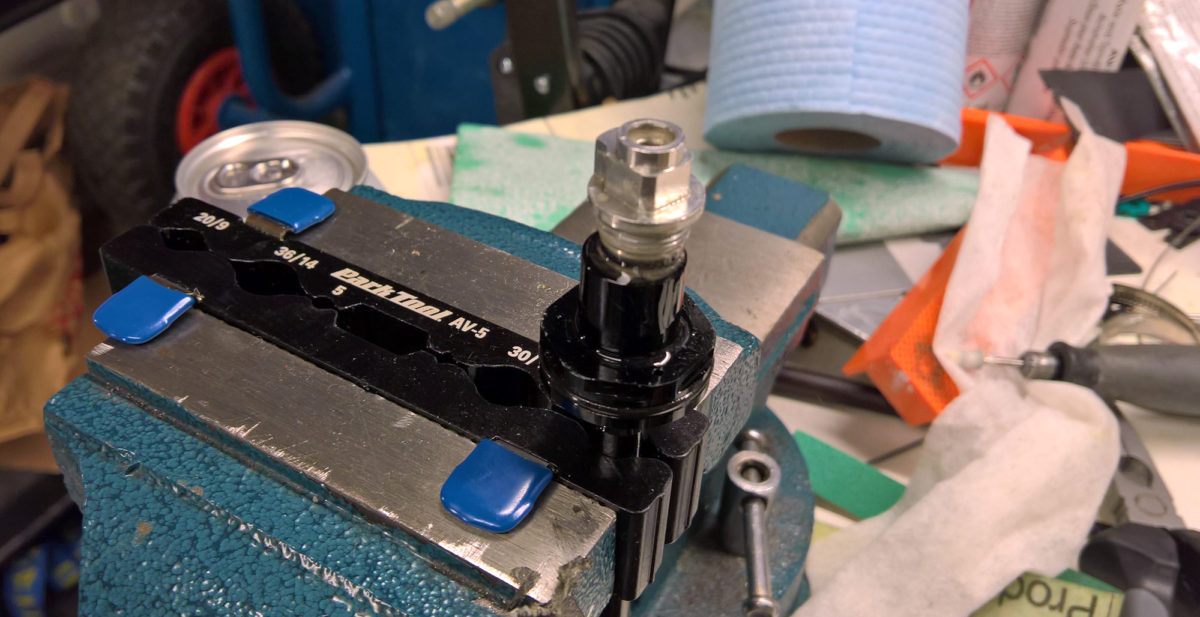
I recommend to clamp the post to a wise from the inner shaft (make sure not to scratch it, use jaws for 10mm shaft or soft jaws), but this is not necessary as you just have to get the post stay upright.
If clamping from upper post/seat head, make sure not to move inner shaft up or down, as this will change the internal oil volume (piston + ifp) and affect the travel, thus requiring a full rebuild.
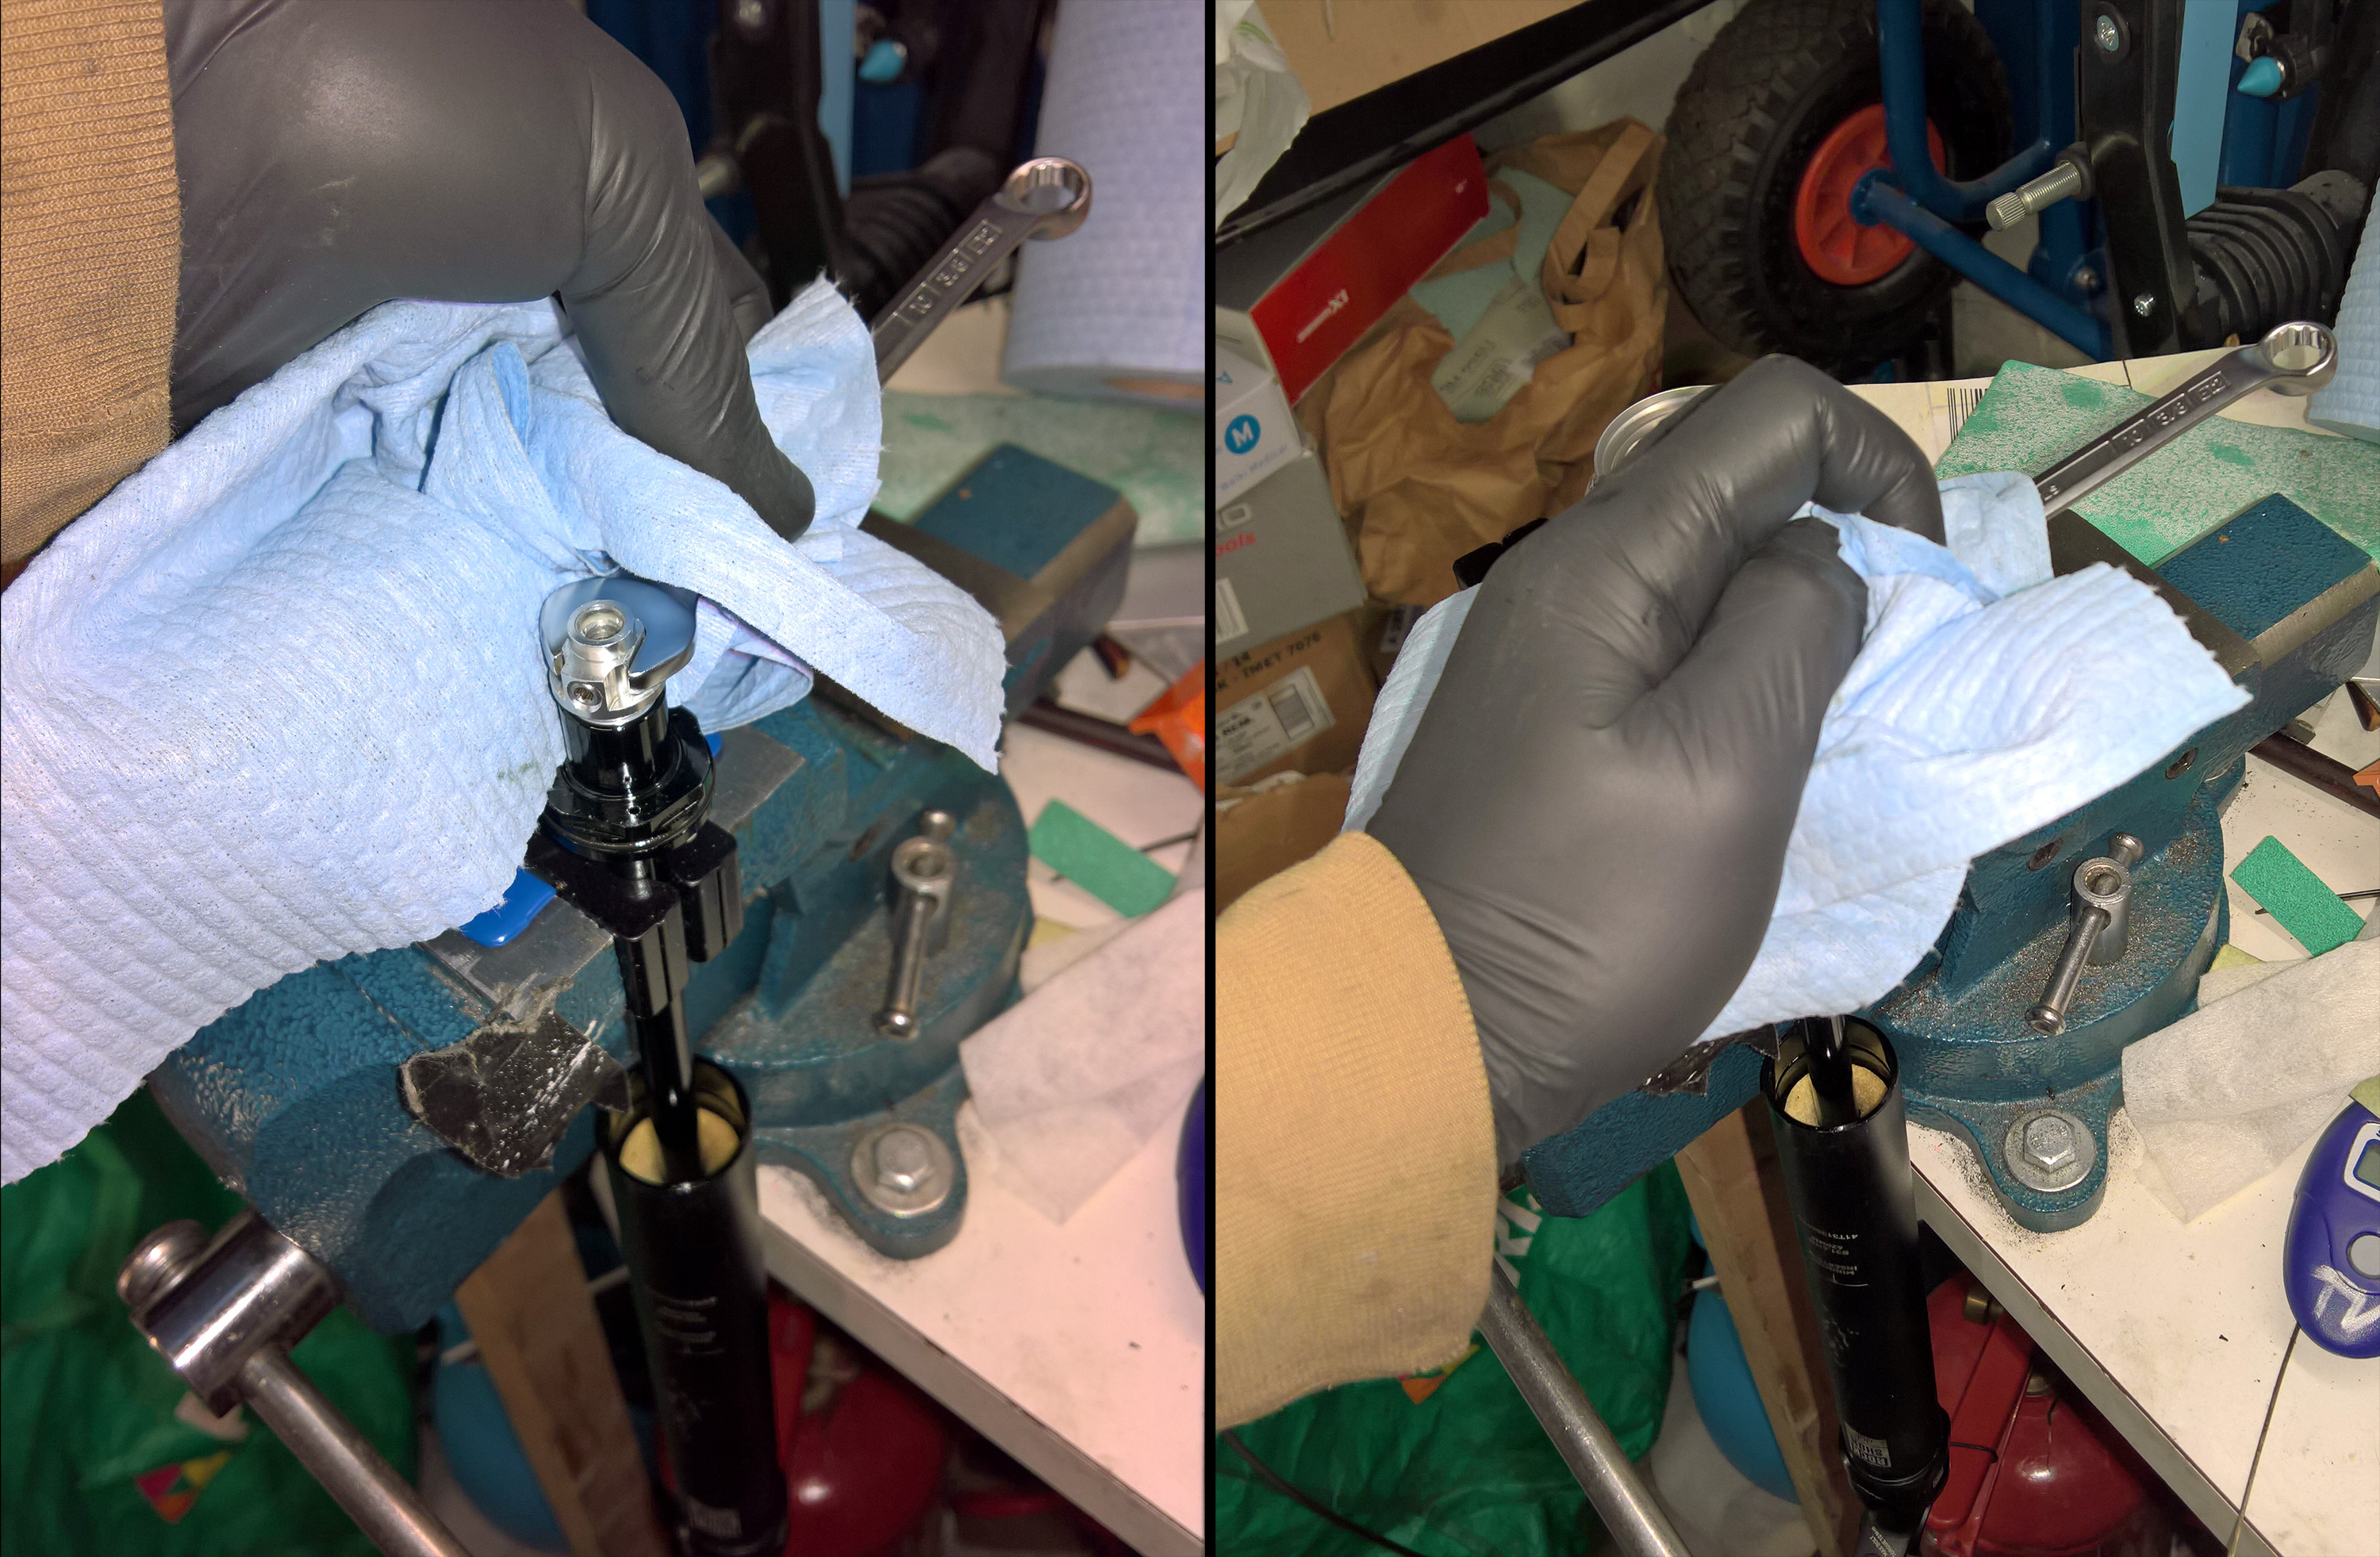
After the post is mounted loosen the poppet valve cover just a little (i.e. it becomes easy to unscrew it). DO NOT fully loosen it!
Take a rag, place it over the poppet valve cover, press firmly with your other hand while starting to un-thread it with the other.
The hand is to prevent the internals from shooting out as the piston/oil chamber might be still pressurized, and this pressure will release when the poppet valve cover is completely un-threaded.
The cover will most likely *pop* up and the rag will catch the escaping air/oil/grease.
Next remove the cover and pull the poppet valve out.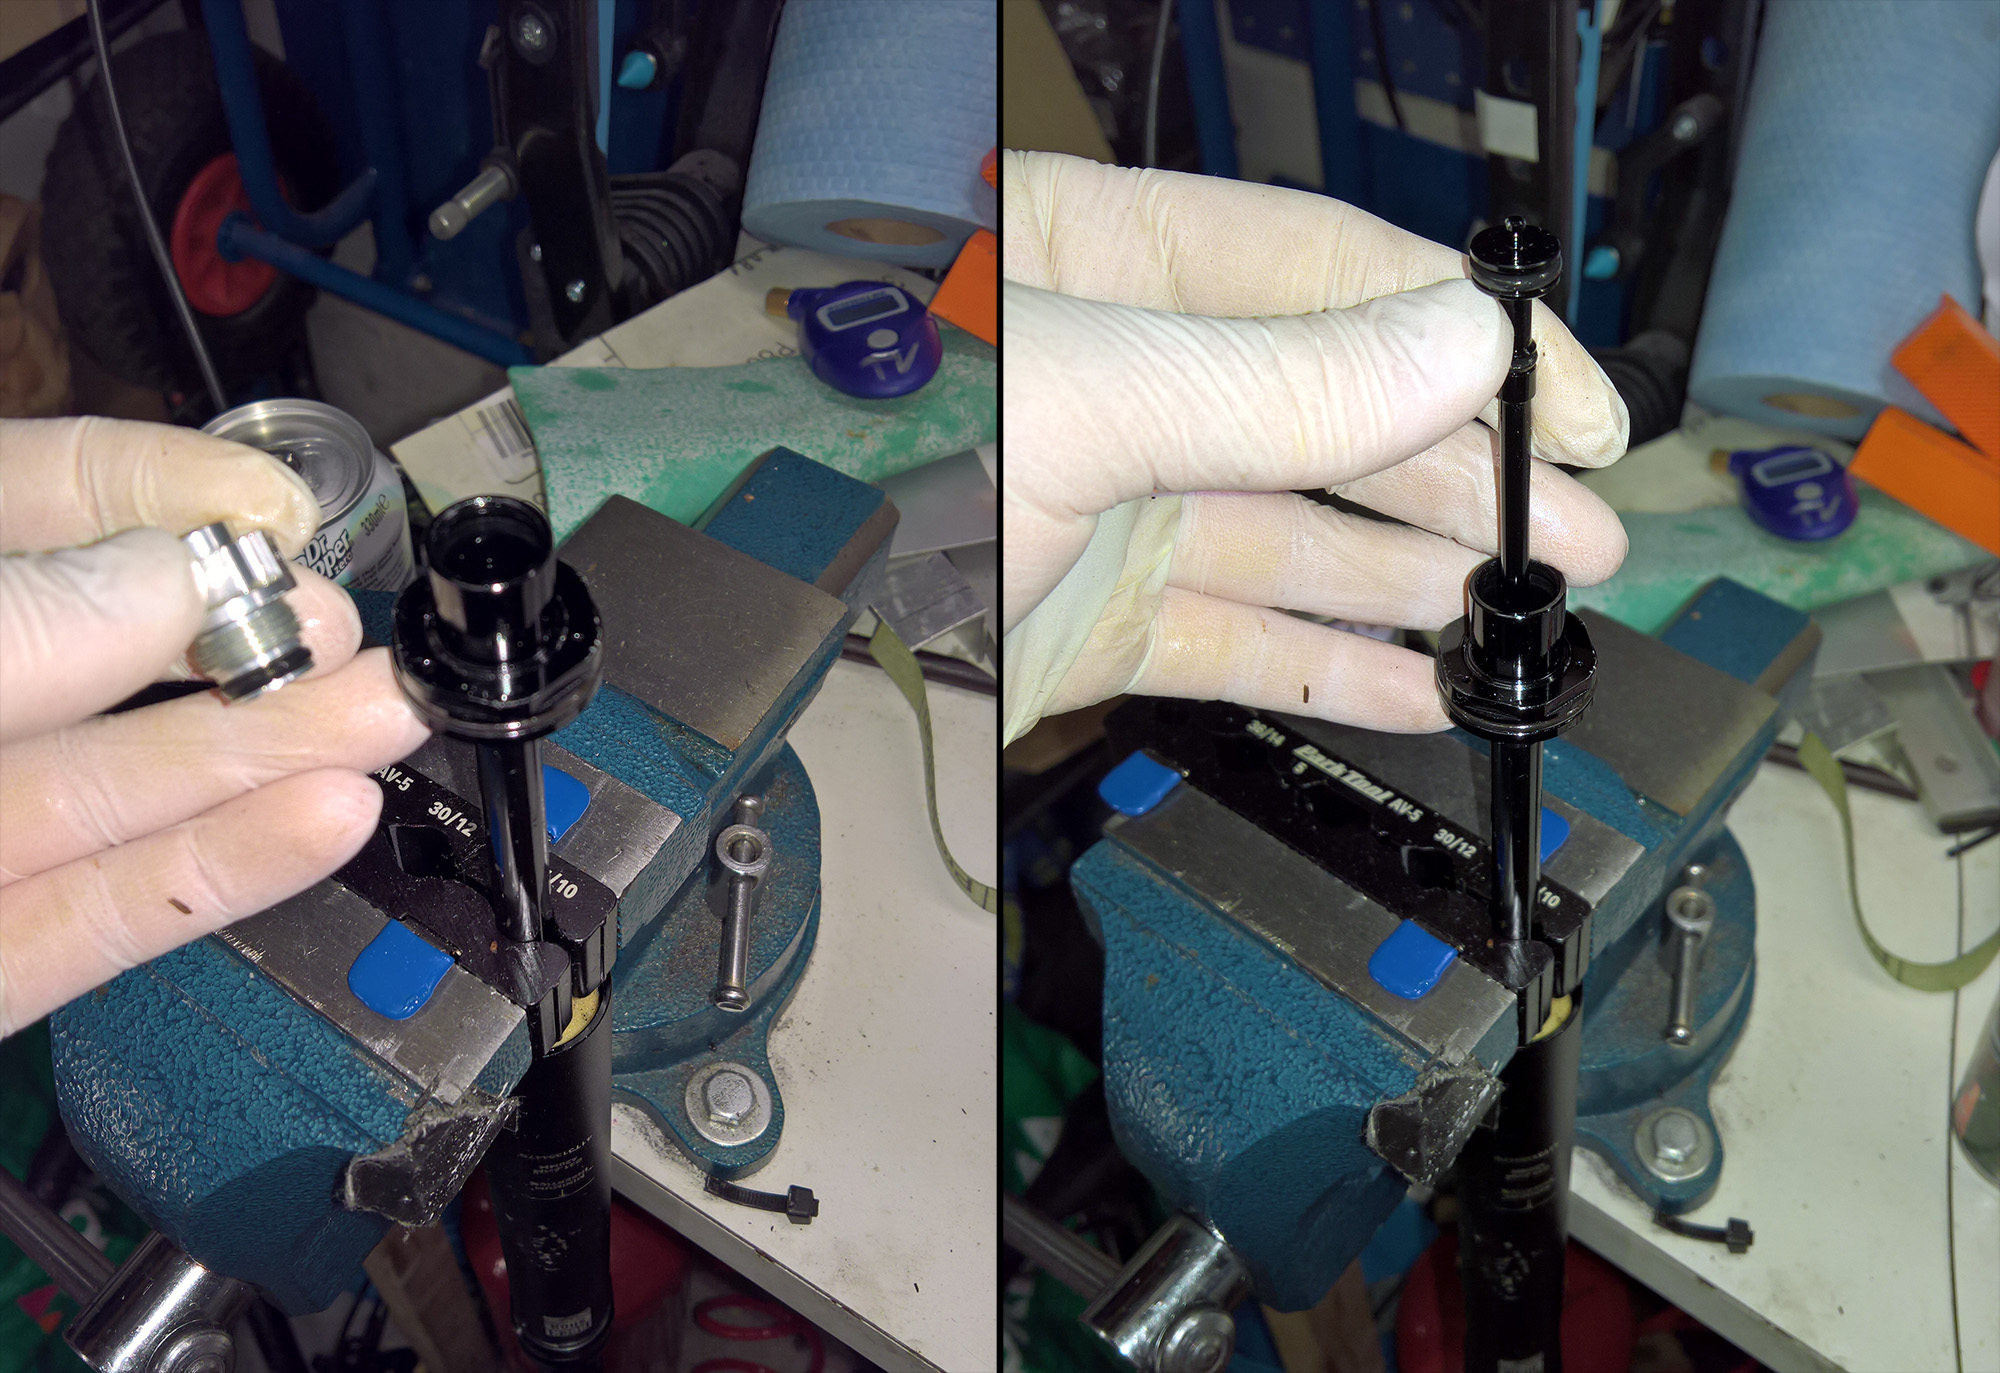
Then pour some reverb fluid in to the inner shaft to displace the air inside the post.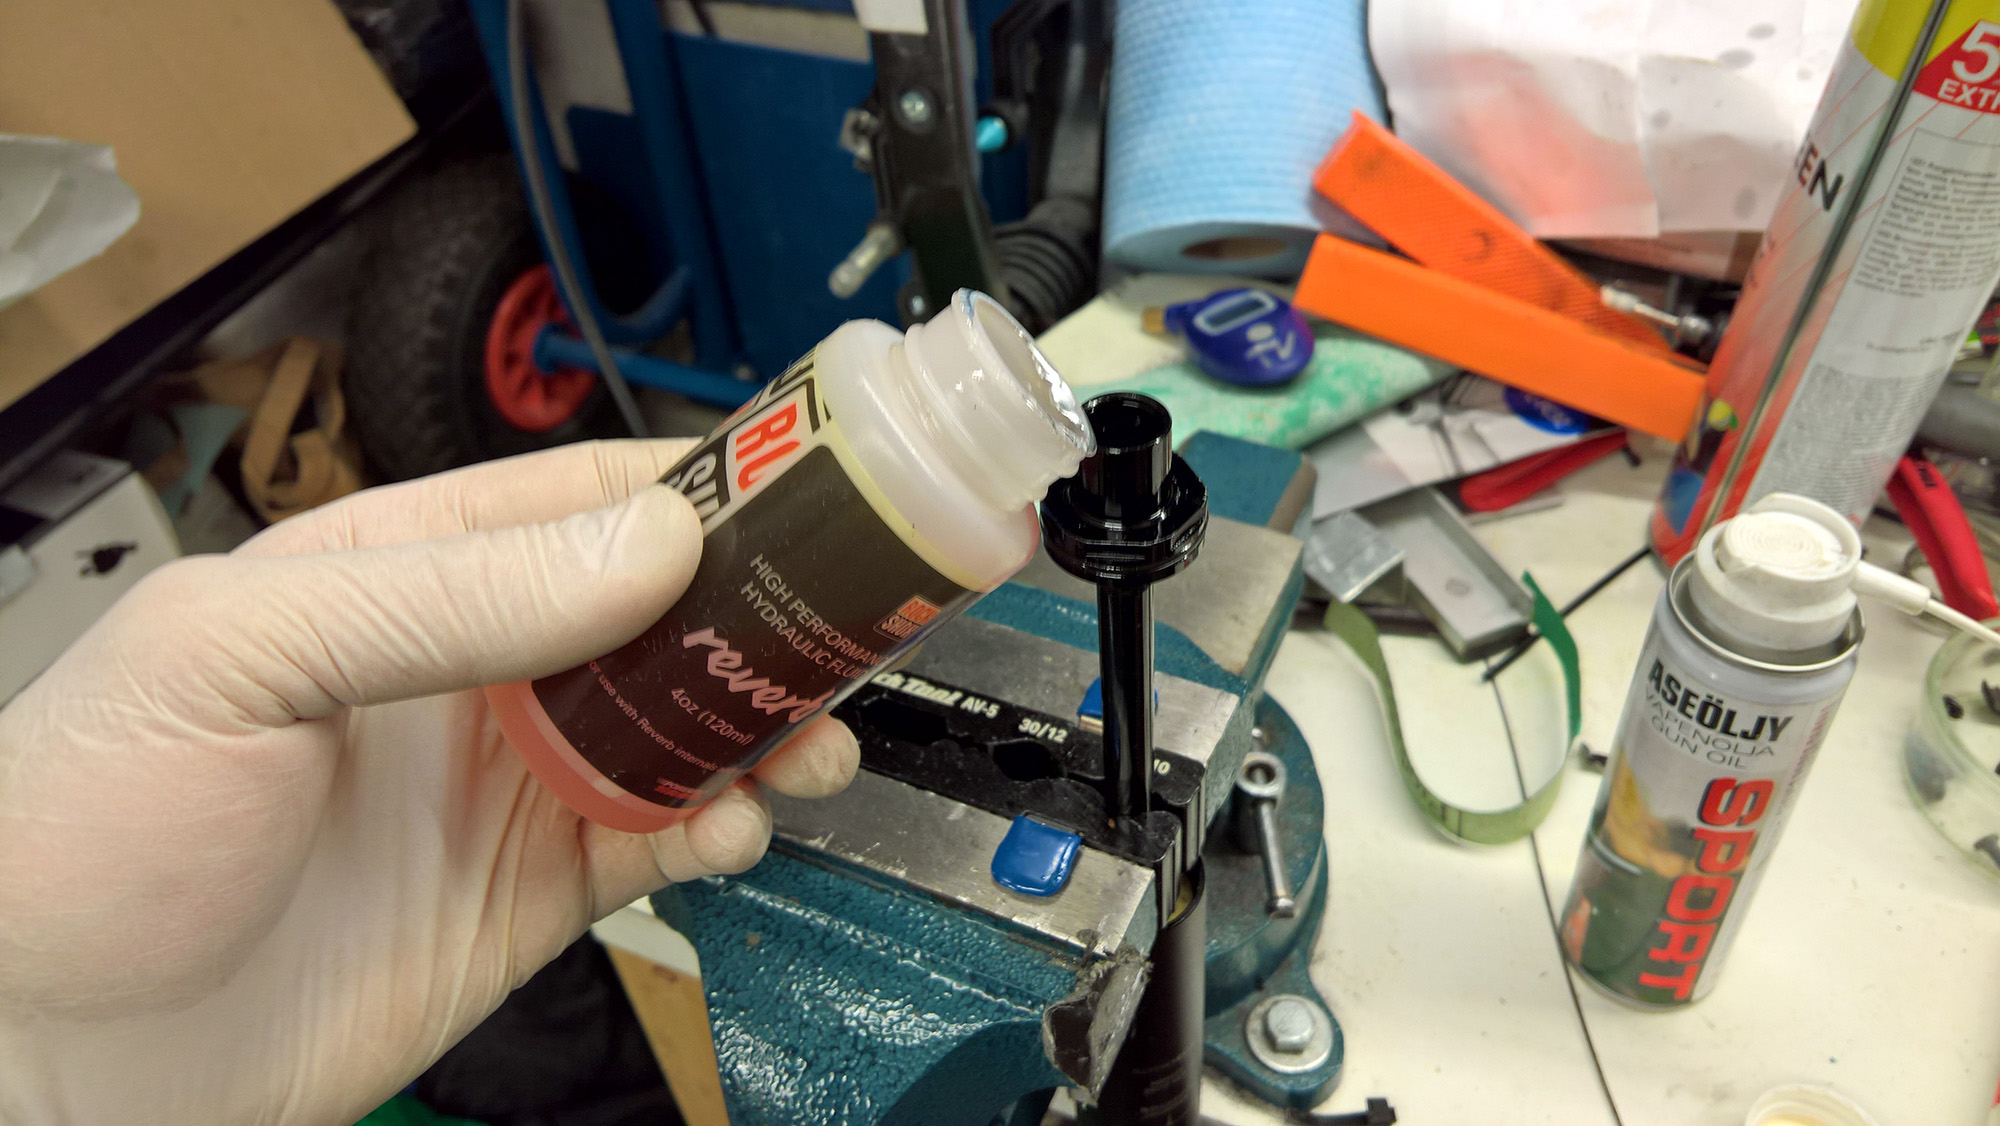
Next measure the correct oil height for your reverb to the fork oil tool. (see reverb manual)
In the case of 125mm drop/420mm length, the proper fluid level is 226.5 ± 0.5 mm)
Insert the fork oil level tool in to the post and remove excess oil.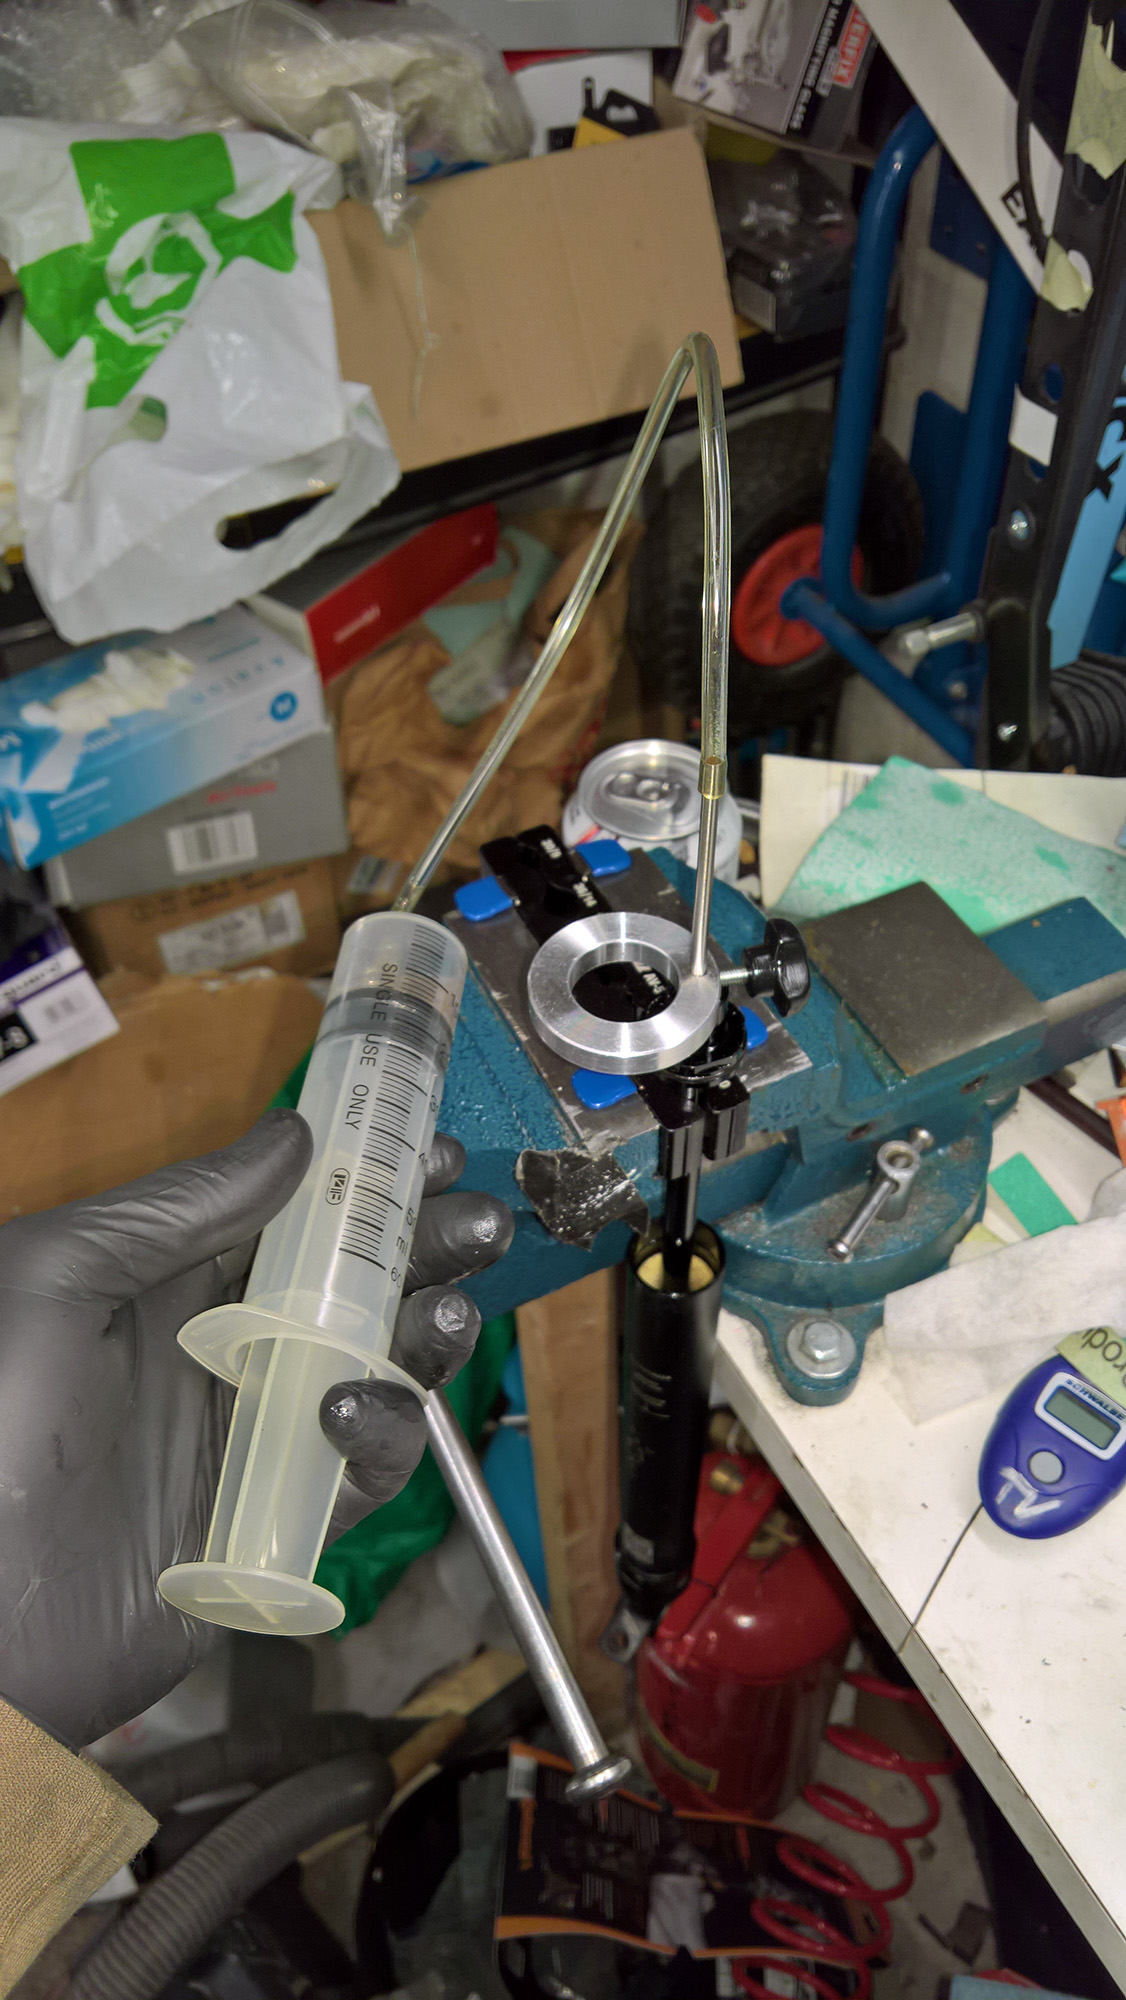
After the excessive oil is removed, rebuild the removed parts, but do not yet attach the saddle or remote.
Basically grease the o-rings in the poppet valve and press it back inside as, then screw the poppet valve cover back, pull from upper post to slide lower post into the end and attach the snap-ring. See reverb manual for detailed instructions.
When the post is back as whole, then pressurize it. There might be some stuck-down when pressurizing, do not worry.
After the post is pressurized to 250psi, press the poppet valve from the hole in the bottom of the post to operate the valve, this will extend the post to full length. Then press the post against something and there should be no sag or at least less sag than when starting this process.
If there is still noticeable amount of sag, then cycle the post a little, extend it to full length and redo the whole process.
As an example: on my first try the post first had some 40 to 50mm of sag, after one iteration it was reduced to 20mm and after second iteration sag the sag was irrelevant, i.e. not noticeable, but maybe around 0-2mm. I don’t see any reason to try a third iteration, maybe a constant zero-sag requires the full rebuild.